Tutorial – Easy Nine Patch Coasters

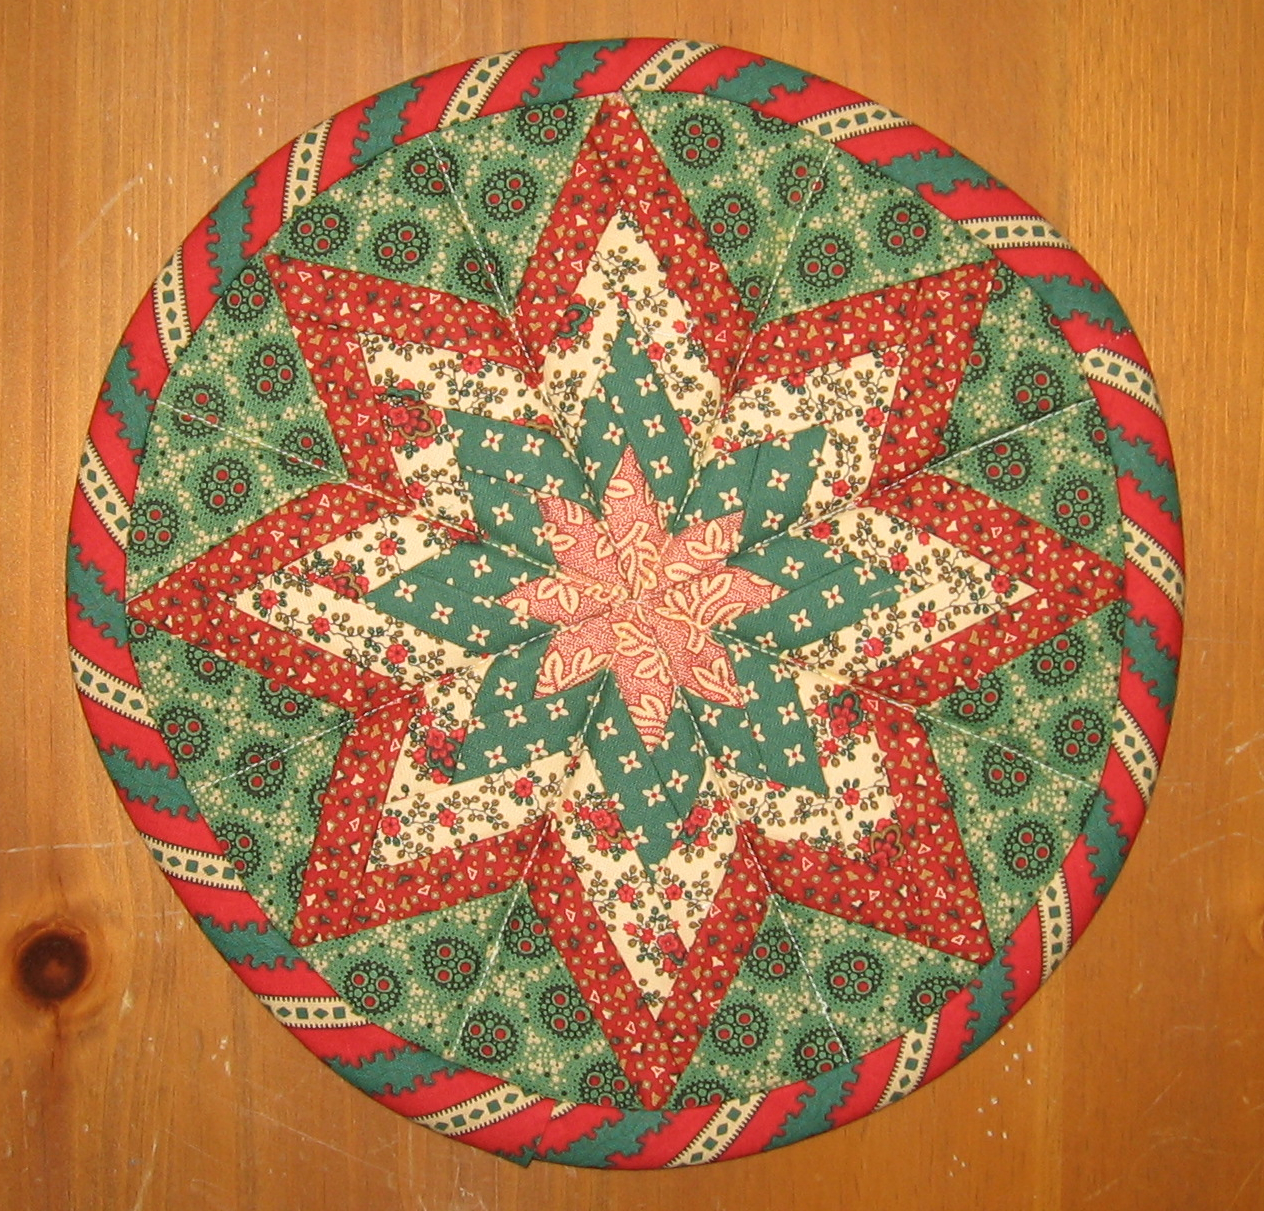
I promised to share a tutorial for how to quickly and easily make nine-patch blocks.  So here it is!   I even took it a few steps further to show you how to turn it into a fun little coaster!

Easy Nine Patch Coaster

This method works best for making scrappy quilts and it’s also great for hosting a block swap.  Get a group of friends together and have everyone bring in fifty 6″ squares.  Throw all the squares into a pile and have everyone randomly pick out fifty new squares.  Then use this method so everyone can create 50 nine-patch blocks that are all different!

Use this method for any sized square, although it is best to pick something that is easily divisible by three (3″, 3.75″, 4.5″, 6″, etc).  This tutorial uses 6″ squares.

Start with two 6″ squares in different fabrics.

Easy Nine Patch Coaster - Step 1

Put the squares right sides together and sew a 1/4″ seam on the right and left sides.

Easy Nine Patch Coaster - Step 2

Using your rotary cutter, cut the unit into three rectangles that are 2″ x 6″.  Make sure you are cutting parallel to the seams you just made.

Easy Nine Patch Coaster - Step 3

Press the seams towards the darkest fabric to create two pieced units.  Take the center rectangles and sew them to the appropriate side of the pieced units.  Press the seams to the darks.  You now have two units of alternating fabrics (A-B-A and B-A-B).

Easy Nine Patch Coaster - Step 4

Take these new squares and place them right sides together.  Make sure the stripes for both are running in the same direction.

Easy Nine Patch Coaster - Step 5

Sew along the shorter sides of this until with a 1/4″ seams.

Easy Nine Patch Coaster - Step 6

Cut this into three rectangles that are 2″ x 6″.  Again, be sure the same you just sewed is parallel to the cuts you are making.  Press the seams.

Easy Nine Patch Coaster - Step 7

Sew the center units to the appropriate unit to make a nine-patch block.  Press the seams.  You will now have two complementary nine-patch blocks.

Easy Nine Patch Coaster - Step 8

If you want to make into a coaster, layer one block with backing and batting to make a quilt sandwich.

Easy Nine Patch Coaster - Step 9

Quilt as desired (I just did some diagonal lines).  Trim off excess batting until each block is 4.75″ square.  At this point, you can just bind the squares for square coasters (use 2 1/4″ strips that are  22″ long).

If you want to make circular coaster, create a template that is a 4.75″ circle (or download my template) and use it to cut around the block.

Cut 22″ inches of 2 1/4″ bias binding.  You need bias binding because it is much easier when working with something circular.  I didn’t use bias binding on my coasters and you can see that the circle is not very smooth around the edges.  Bias binding would have been a better choice (although I was trying to save some time by using some binding scraps I cut for another project).

Sew binding, press, and then attach to back.  Make a cute set of 4 coasters, tie together with a ribbon, add some teabags and a mug, and you’ve got a great gift to give your favorite tea drinker!

Keep it thimble!

Easy Nine Patch Coaster

Jo Morton Signature Quilt

I was digging around in my fabric closet and found the squares for a signature quilt that still needed to be sewn together in a quilt top!  This project was started over a year ago, and put aside for whatever reason.  I figured I could finish the quilt top and add it to my UFO list under projects to be quilted.


Jo Morton Signature Quilt

This is a fun quilt to make from your scraps.  The signature X blocks are very easy to make – you cut out the squares of cream fabric, sew a square of colored fabric to the opposite corners, press open, and then trim off the excess.  You do have lots of little triangle scraps, but they are perfect for miniature quilts or to create small blocks for pin cushions.

Before you sew the X blocks together, you can have your friends sign the smaller blocks.  This is a very nice keepsake to have – great for quilting bees,  weddings, graduations, or other special occasions.  I’ve even heard of people hosting online signature swaps – people create and sign squares, send them off, and get signed squares in return.

The nine-patch blocks were made with a technique that is fast and doesn’t waste fabric.  I will be posting a tutorial on Sunday with instructions on how to do it.  On a side note, the first Sunday of every month I will post either a tutorial or a new pattern (it will alternate).

Also, I found one other UFO that is being added to the list.  I cut out over 200 “apple core” pieces to hand stitch an apple core table runner (also in Jo Morton fabrics).  My plan is to carry a few pieces of this project around in my purse and stitch on it when a I can.  Hopefully the top will be completed by the end of the summer and then I can hand quilt it.

Keep it thimble!

Amy Barickman Giveaway

Amy Barickman of Indygo Junction is one of my favorite designers.  She creates awesome patterns and designs fabric for Red Rooster Fabrics (Simply Spooky is probably my all time favorite Halloween fabric).

Stitchin’ Thyme mentioned that Amy is having a giveaway (thanks Jennifer!) and of course I had to enter.  In order to share the love (and increase my chances to win) I am sharing this with you.  If you want to enter to win some of Amy’s fabric and her latest Redwork Book, head over to her blog and enter.  Good luck!

Book Review – Wool Dyeing

I’ve been doing some reading on wool dyeing in preparation to dye my first batch of wool.  I was able to take a class from Liberty Rose a few months ago, and it was great to get some hands on experience with it (and it actually made me even more interested in doing more of it on my own).  However, I love reading books on any subject of interest in order to learn as much as possible (and pick up some new techniques).  Amazon had two books on hand-dyeing wool that looked pretty interesting, so they soon found their way to my house.  Both books contained valuable information, and between the two of them I feel I am ready to tackle this head on.

Teach Yourself Visually: Hand-Dyeing

The first one called  Teach Yourself Visually:  Hand-Dyeing focuses more on how to dye yarn, but the information and techniques are applicable to yardage as well.  The author takes a very technical approach to the subject and includes a lot of different exercises designed to help you better understand color theory and dye formulas.

The book includes an in depth discussion of color and the color wheel, including instructions  for creating your own color wheel.  There is also a detailed section on preparing to dye, including the equipment needed and safety precautions (this is especially important since you are working with chemicals and acids).   For those interested in hand-dyeing silk she also includes information on how to dye plant-based fibers like silk and cotton (cellulose dyeing).

Throughout the book there are color pictures that help explain the techniques discussed.  For me, the most useful part of the book are the formulas she suggests for getting different colors.  All of her formulas assume you are blending primary colors in order to get a desired color.  Her information better helps you understand how to create a spectrum of colors with three primaries, and the book also explains how you can change the depth of  a color with the correct proportions of dye and water.  Several dyeing techniques are discussed, including immersion, hand-painting, and freestyle dyeing (including a section on how to dye with Kool-Aid).

Dyeing Wool

The second book called Wool Dyeing focuses specifically on how to dye wool yardage for rug-hooking and applique.  The book is based on the author’s own intensive workshops she offers in the craft.  Her approach is more free form in that she teaches you how to dye without using formulas.  She includes the basics of color theory, but instead emphasizes looking at nature for color inspiration and encourages you to experiment with color to achieve the desired results.

The majority of the book is devoted to various dyeing techniques that are described in detail and accompanied by beautiful color photographs.  She covers 20 techniques from beginner to advanced, including spot dyeing and shibori (which involves folding, stitching, or wrapping the fabric).  The author is less focused on providing specific exercises that teach you about color theory, and instead presents each technique from beginner to advanced with step by step photographs and descriptions.

All in all, both books are great companions to each other and provide a good starting foundation for anyone interested in wool dyeing.

Kid’s Backpack

Someone gave me this Backpack Pattern and I thought it seemed like the perfect thing for my son (which more masculine fabrics of course!).  I had some really cute fabric in my stash called “Creatures and Critters” that was designed by Amy Schimler for Robert Kaufman fabrics (alas, this was from a line she did a few years ago, so you can’t find it at retail shops now).

Creatures and Critters - Chameleons

After making this pattern, I learned that sometimes you want to use batting instead of fusible fleece.  The pattern calls for you to use batting and do some quilting on the exterior, but I used fusible fleece since I didn’t feel like quilting it.  However, the fusible fleece is much stiffer and has less give, so it was difficult for me to get the outside pocket to lay correctly, and the main bag was  “sturdier” than I wanted it to be.   As a result, I just made a traditional pocket with a flap and it is too large, and you can’t see much of the cute fabric unless you look at the back.

Kid's Backpack

I must confess I was really excited when to make this pattern because I wanted to learn how to make the outside pocket, so I was not pleased with the final results.  In general, the pattern is easy to follow, but there are a few steps that need more information (such as how to construct the exterior pocket) and there are some steps that I would do differently for a more finished look (such as how to make the interior pockets).  I am going to try this again, with a few modifications (and try batting instead of fusible fleece).

I do think this is a very cute pattern and it is different than the traditional backpack you see.  It is easy to open and can easily carry a few books, art supplies, and a small toy or two.  The straps are too long for my son, so they will also be shortened for the second attempt.

Keep it thimble!

Caramel Apple!

You know how you can get those sinfully delicious caramel apples at Rocky Mountain Chocolate Factory? Well, you can make these at home too!  Over the holidays I purchased a package of caramel wraps for apples – the kind that contain a flattened circle of caramel that you can wrap around an apple.

While you are melting the caramel apple in the oven, melt a 1/4 cup of candy coating pieces (your choice of color) and 3 tbps. of chocolate chips in separate dishes.  Scoop the melted candy coating over the apple and then drizzle with the melted chocolate chips.  Place in fridge for about 10 minutes until apple has cooled.  Or you can do what my son did, and use the chocolate chips for embellishment.


Caramel Chocolate Apple

You could also make a totally decadent chocolate caramel apple by melting Brach’s caramels, dipping the apple, letting it cool, and then dipping into melted chocolate.  For the piece de resistance you could roll in crumbled Oreos and then drizzle with chocolate.  Wow, I am hungry now!

I’ll have more sewing information this week.  Check back on Monday for my first book review of the year!

Unfinished Objects (UFOs)

It’s only natural to take inventory of all your UFOs at the first of the year.  You want to have an idea of how far you are behind – right?  The interesting thing about UFOs, is that at the time they were started, they were the most exciting project ever and I couldn’t wait to finish them.   Now, they just sit there, unfinished, like an albatross around my neck (perhaps that’s a bit dramatic).  Here’s the stack of UFOs that are currently taking up space in my closet:

UFOs

As you can see, there are quite a few of them.  By the way, my definition of a UFO is a project that actually had work done – fabric was cut, sewing was done, etc.  This doesn’t count all the kits or all the projects that supplies I bought supplies for (that actually takes up two cabinets).  This year, I am determined to either complete my UFOs or give them to someone else to complete and enjoy.

Fourth of July Table Runner

This is a table runner that is *almost* finished.  It has been quilted halfway, just needs some binding (my machine broke when I was quilting it the first time so I put it aside).

Sweetheart Vine Table Runner

The Sweetheart Table Runner is my first attempt at applique.  All the applique pieces are complete and basted down, I just need to sew around them, add a border, and then quilt it (it sounds so easy when I describe it).

Three Cheers for Red, White, Blue

This is a very small embroidery project I started 2 years ago.  It is halfway finished.  It probably would only take 3 hours to finish it up, add a border and make it into a small pillow.  This is something that can be carried around in my purse and stitched on when I am waiting for something.

In order to keep myself honest, I am going to list them all on the blog and will provide monthly updates on the progress.  Hopefully, by the end of the year, I won’t have any UFOs (or at least it will be a new batch).

  • Sweetheart Vine Applique Table Runner
  • Hand Applique Bird/Flowers Wall Hanging
  • Faded Glory Quilt
  • Strawberry Candle Mat (Wool)
  • Flower Baskets Table Runner (Wool)
  • Tomato Penny Rug (Wool)
  • Three Cheers for Red, White Blue (Embroidery)
  • Finished Quilt Tops (need quilted):
    • Fourth of July Table Runner
    • Ruffled Hearts Quilt
    • Diamond Jelly Roll Quilt
    • Jo’s Little Houses Quilt
    • Friendship Star Quilt
    • Friendship Star Table Runner
    • Irish Chain/Nine Patch Quilt
    • Hand-pieced Wall Hanging

Keep it thimble!

Traveler’s Tote

In a few weeks, I’ll be teaching a class at the Whistle Stop Quilt shop.  The owner is interested in having someone teach some classes on how to make bags, so I went in and talked with her.  While I was there, she showed me this cute new pattern by Anything But Boring called “The Traveler’s Tote.”  We both agreed this would make an excellent class for me to teach :).


Traveler's Tote

A sample was needed to promote the class, so yesterday and today was spent making it.  This tote is very sturdy because fusible fleece is used on the exterior and Decor Bond is used on the lining.  The large flap is a great way to show off a favorite piece of fabric or focus fabric.  It has tons of pockets (you can never have enough) – two on the outside and pockets all the way around the inside.


Traveler's Tote Interior

I was only one seam away from being finished,when I realized the lining pockets were wrong.  Instead of the pockets opening at the top, they opened to the bottom – not very useful at all!  I had to rip out the sides and bottom of the lining in order to get to the mistake and fix it.  When I realized the mistake, I gasped and said “Oh no!”.  My five year old said, “What’s wrong Mommy?  Did you sew your thumb?”.  He was glad to see I was okay!  That detour took about an hour, but I was really happy with the end result.

Be careful when you sew.  Keep it thimble!

Thrift Store Finds

As you can see, the blog has a new look.  It was time for a change, especially since there are big plans for improving it this year!   I’ve been inspired by some other blogs I read and am working on a schedule for when I will be posting this year.  I want to be sure to deliver on my promises for new patterns, book reviews, and everything else!

In addition, the sewing room is getting completely reorganized.   As you can imagine things are kind of wreck after all the holiday crafting!   I am in the process of getting rid of a bunch of yarn that I bought years ago when I thought I would become a knitter.  It’s great yarn, but knitting is not for me.  Luckily, I have a few friends who are knitters and we are organizing a craft supply sale so I should be able to find a nice home for it (and maybe pick up some new supplies myself).  I also have a stash of fabric that I plan to sell on Etsy.  I’ll let you know when it is available :).

One of the big things I am doing is reorganzing my wool.  I find this great little cabinet at the thrift store a few months ago and finally got around to cleaning it up and putting my wool into it.


Wool Cabinet

Since I am getting ready to embark on a wool dying adventure, I need to have things handy and place to put all the new wool I’ll be making.

I also found a few cute sewing baskets at the flea market.  They are both nice handmade baskets out of oak and only cost about $2 each (which I couldn’t believe).  The one with Daffodils painted on it is also fully lined with this funky quilted fabric from the 70’s.  It’s the perfect size for carrying supplies for a wool project.


Sewing Basket
Daffodil Sewing Basket

In other news, a new quilt store has opened in town – Whistle Stop Quilt Shop – and I will be teaching some classes there in a month or two.  I’m really excited and will be posting class information when I have all the details worked out.

Keep it Thimble!

Goals for 2011!

Happy New Year!

Well, it’s time to kick of 2011 at Keep It Thimble!  I wanted to have a great new project to share with you today, but I had a Wool Crazy emergency!  I took the block with me on the road over the Christmas holidays so I could finish basting down the wool appliques.  I only had a few more left – they were all cut out, they just needed to be stitched down.  When I got home, some of my appliques were missing – I’d left them in the hotel!!  Long story short, I spent yesterday recreating the missing appliques and stitching them down so I wouldn’t lose them again.  This was a blessing in disguise, as I’ve been missing to finish the applique part so I can get started on the crazy quilt stitches.  Now this project is more portable and I won’t lose anything – as long as I don’t misplace the entire block :).  Here’s how it looks now:

Wool Crazy Progress

2011 Goals

Big plans are in the works for 2011. Here’s a brief overview of what you can expect this coming year!  I appreciate everyone who reads my blog and I look forward to sharing more with you this coming year:

  • More free patterns
  • More tutorials
  • More giveaways
  • More book reviews
  • Guest bloggers
  • Etsy shop

Finally, here are some fun stats about Keep It Thimble that were sent to me by WordPress (my blog host).

Keep It Thimble – 2010 in Review

Featured image

A Boeing 747-400 passenger jet can hold 416 passengers. This blog was viewed about 10,000 times in 2010. That’s about 24 full 747s.

In 2010, there were 61 new posts, growing the total archive of this blog to 81 posts. There were 124 pictures uploaded, taking up a total of 232mb. That’s about 2 pictures per week.

The busiest day of the year was August 20th with 326 views. The most popular post that day was Free Pattern – Shaker Pincushion.

Where did they come from?

The top referring sites in 2010 were sewing.patternreview.com, craftster.org, libertyrosepatterns.blogspot.com, pumpkinpatchprimitiveswoolcrazy.blogspot.com, and facebook.com.

Some visitors came searching, mostly for folded patchwork, patchwork, folded star patchwork, wool crazy, and folded star.

Attractions in 2010

These are the posts and pages that got the most views in 2010.

1

Free Pattern – Shaker Pincushion January 2010
6 comments

2

Free Pattern – Folded Patchwork Star December 2009
5 comments

3

Free Patterns October 2009

4

Free Pattern – Stuffed Sea Creature Toys April 2010
5 comments

5

Grommet Purse August 2010
4 comments