I love the books by Aranzi Aranzo. Fittingly, their books are called “The Cute Book,” “The Cuter Book,” “Cute Stuff” and so on. This is one of their patterns from “Cute Dolls.”
Pretty easy to make and only about 3″ high. I made this from craft felt and it took about 30 minutes from start to finish. The pieces are a bit small, so I enlarged the pattern by 15% to make it easier.
These would make really cute ornaments or package decoration! You could also glue a pin on the back so it could be a cute fashion accessory!
My son is crazy about mushrooms. Last year for Christmas he wanted a book titled Mushrooms of West Virginia and the Central Appalachians (of course he got it!). He came up with this fun little mushroom craft that requires very few supplies.
Supplies Needed:
1″ Wooden spools or knobs (one for each mushroom)
Fabric scraps to make 2 1/2″ circles
Thread
Glue
Markers
He rooted through my scrap basket and selected about 11 different fabrics that looked like mushroom tops. Batiks work well for this, as do tone on tone prints. He also found that the reverse side of the fabric would sometimes work.
Next, cut out a 2 1/2″ circle from each fabric scrap. Using a needle and thread, sew a running stitch about 1/3″ in from the edge. Gather the circle and add a small bit of stuffing. When making the first one (pictured above) we placed the wooden spool instead the gathered circle and pulled the thread tight, and tied it off. This was pretty awkward and too some time to get the thread tight enough. For the other ones, we gathered up the circle, stuffed it, tied it off, and then glued the “puff” on top of the wooden spool. That worked much better and was even cuter!
Once the mushroom is dry, use a green marker to draw a bit of grass at the bottom. If you like, add a smiley face!
I cut out a piece of green felt for the meadow and gave him a plastic Crystal Light container for storage. Viola! A portable mushroom meadow!
Pincushions are a great project since they are small and only take a few hours to make. Plus, you can never have too many! This tasty treat is from Miss Rosie’s Fruit Salad pattern.
Happy Spring everyone! It’s been quite a winter, but now it is warming up and I am getting excited about my spring projects. I have a lot to accomplish over the next few months, so stay tuned!
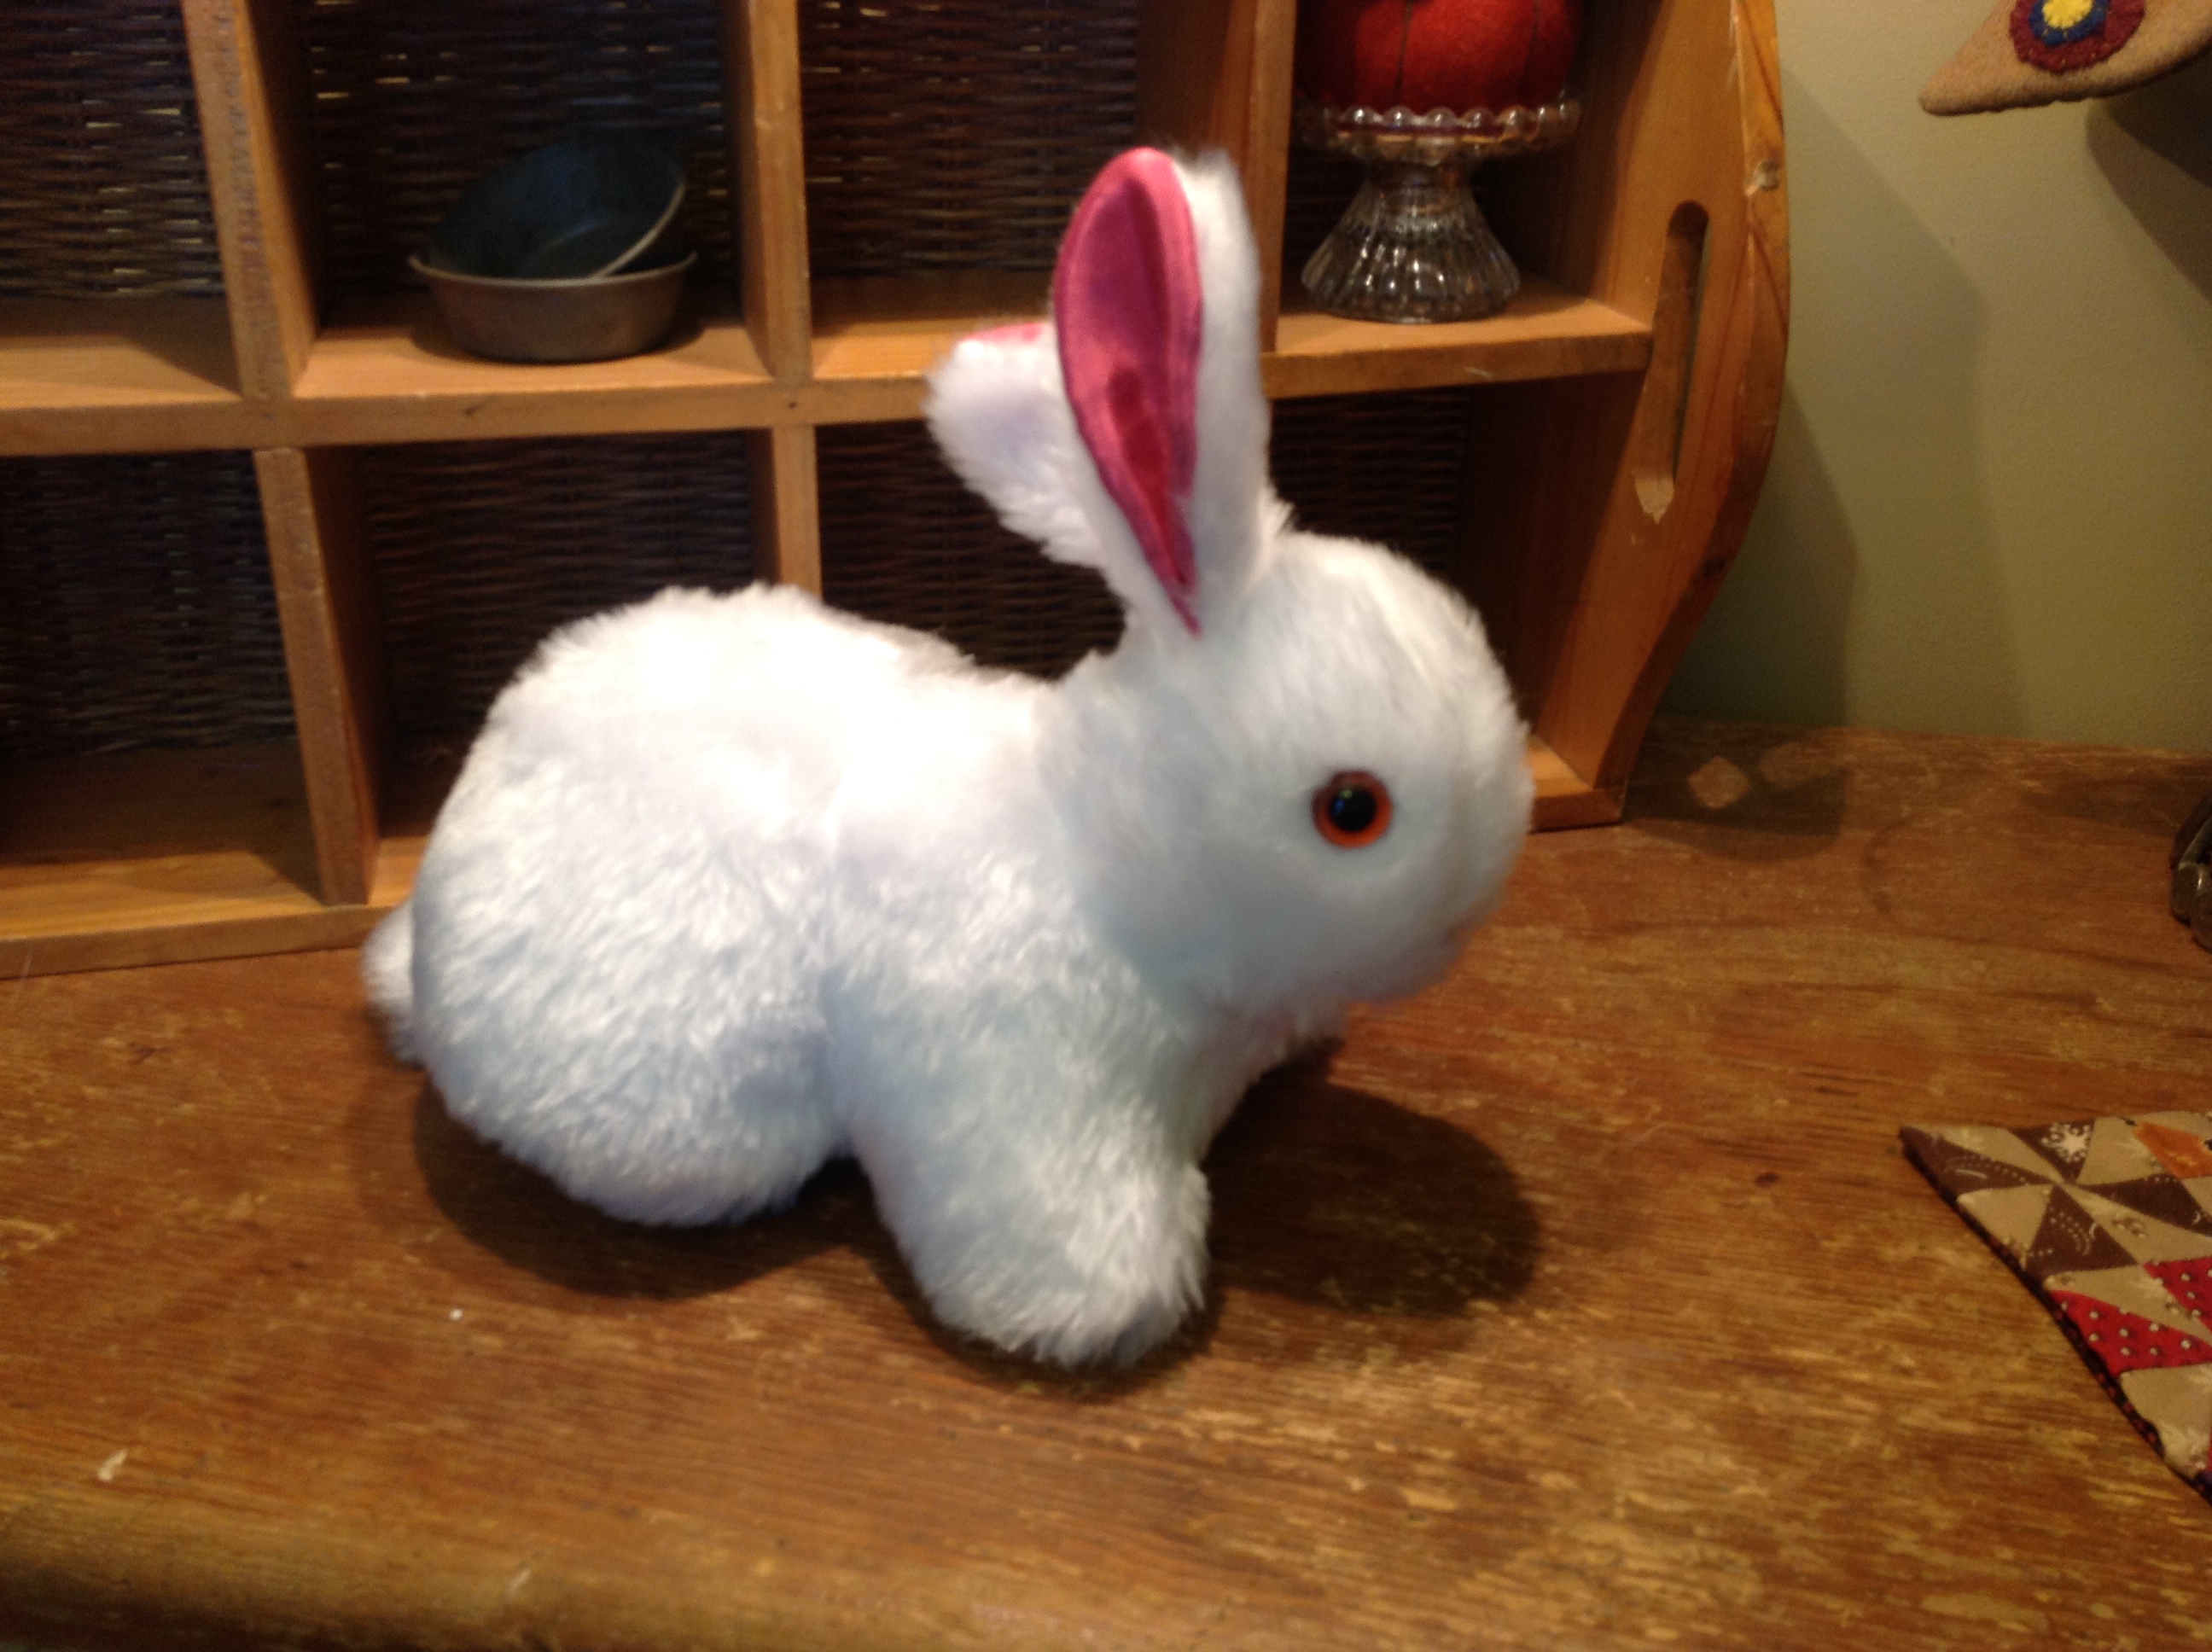
Minicraft Rabbit
This is a little rabbit I made from a Minicraft Kit I found at the thrift store. Definitely one of the best dollars I’ve spent. It was super easy to put together and the pattern is quite cute. I plan to make another one with fleece and embroidered eyes – a perfect gift for my friend’s new baby!
Some of you may recall that my son and I worked together on Perry the Paramecium over two years ago! This was a fun project that basically involved him telling me what he wanted and me making it. Now that he is older, he is a lot more involved in the collaborative process.
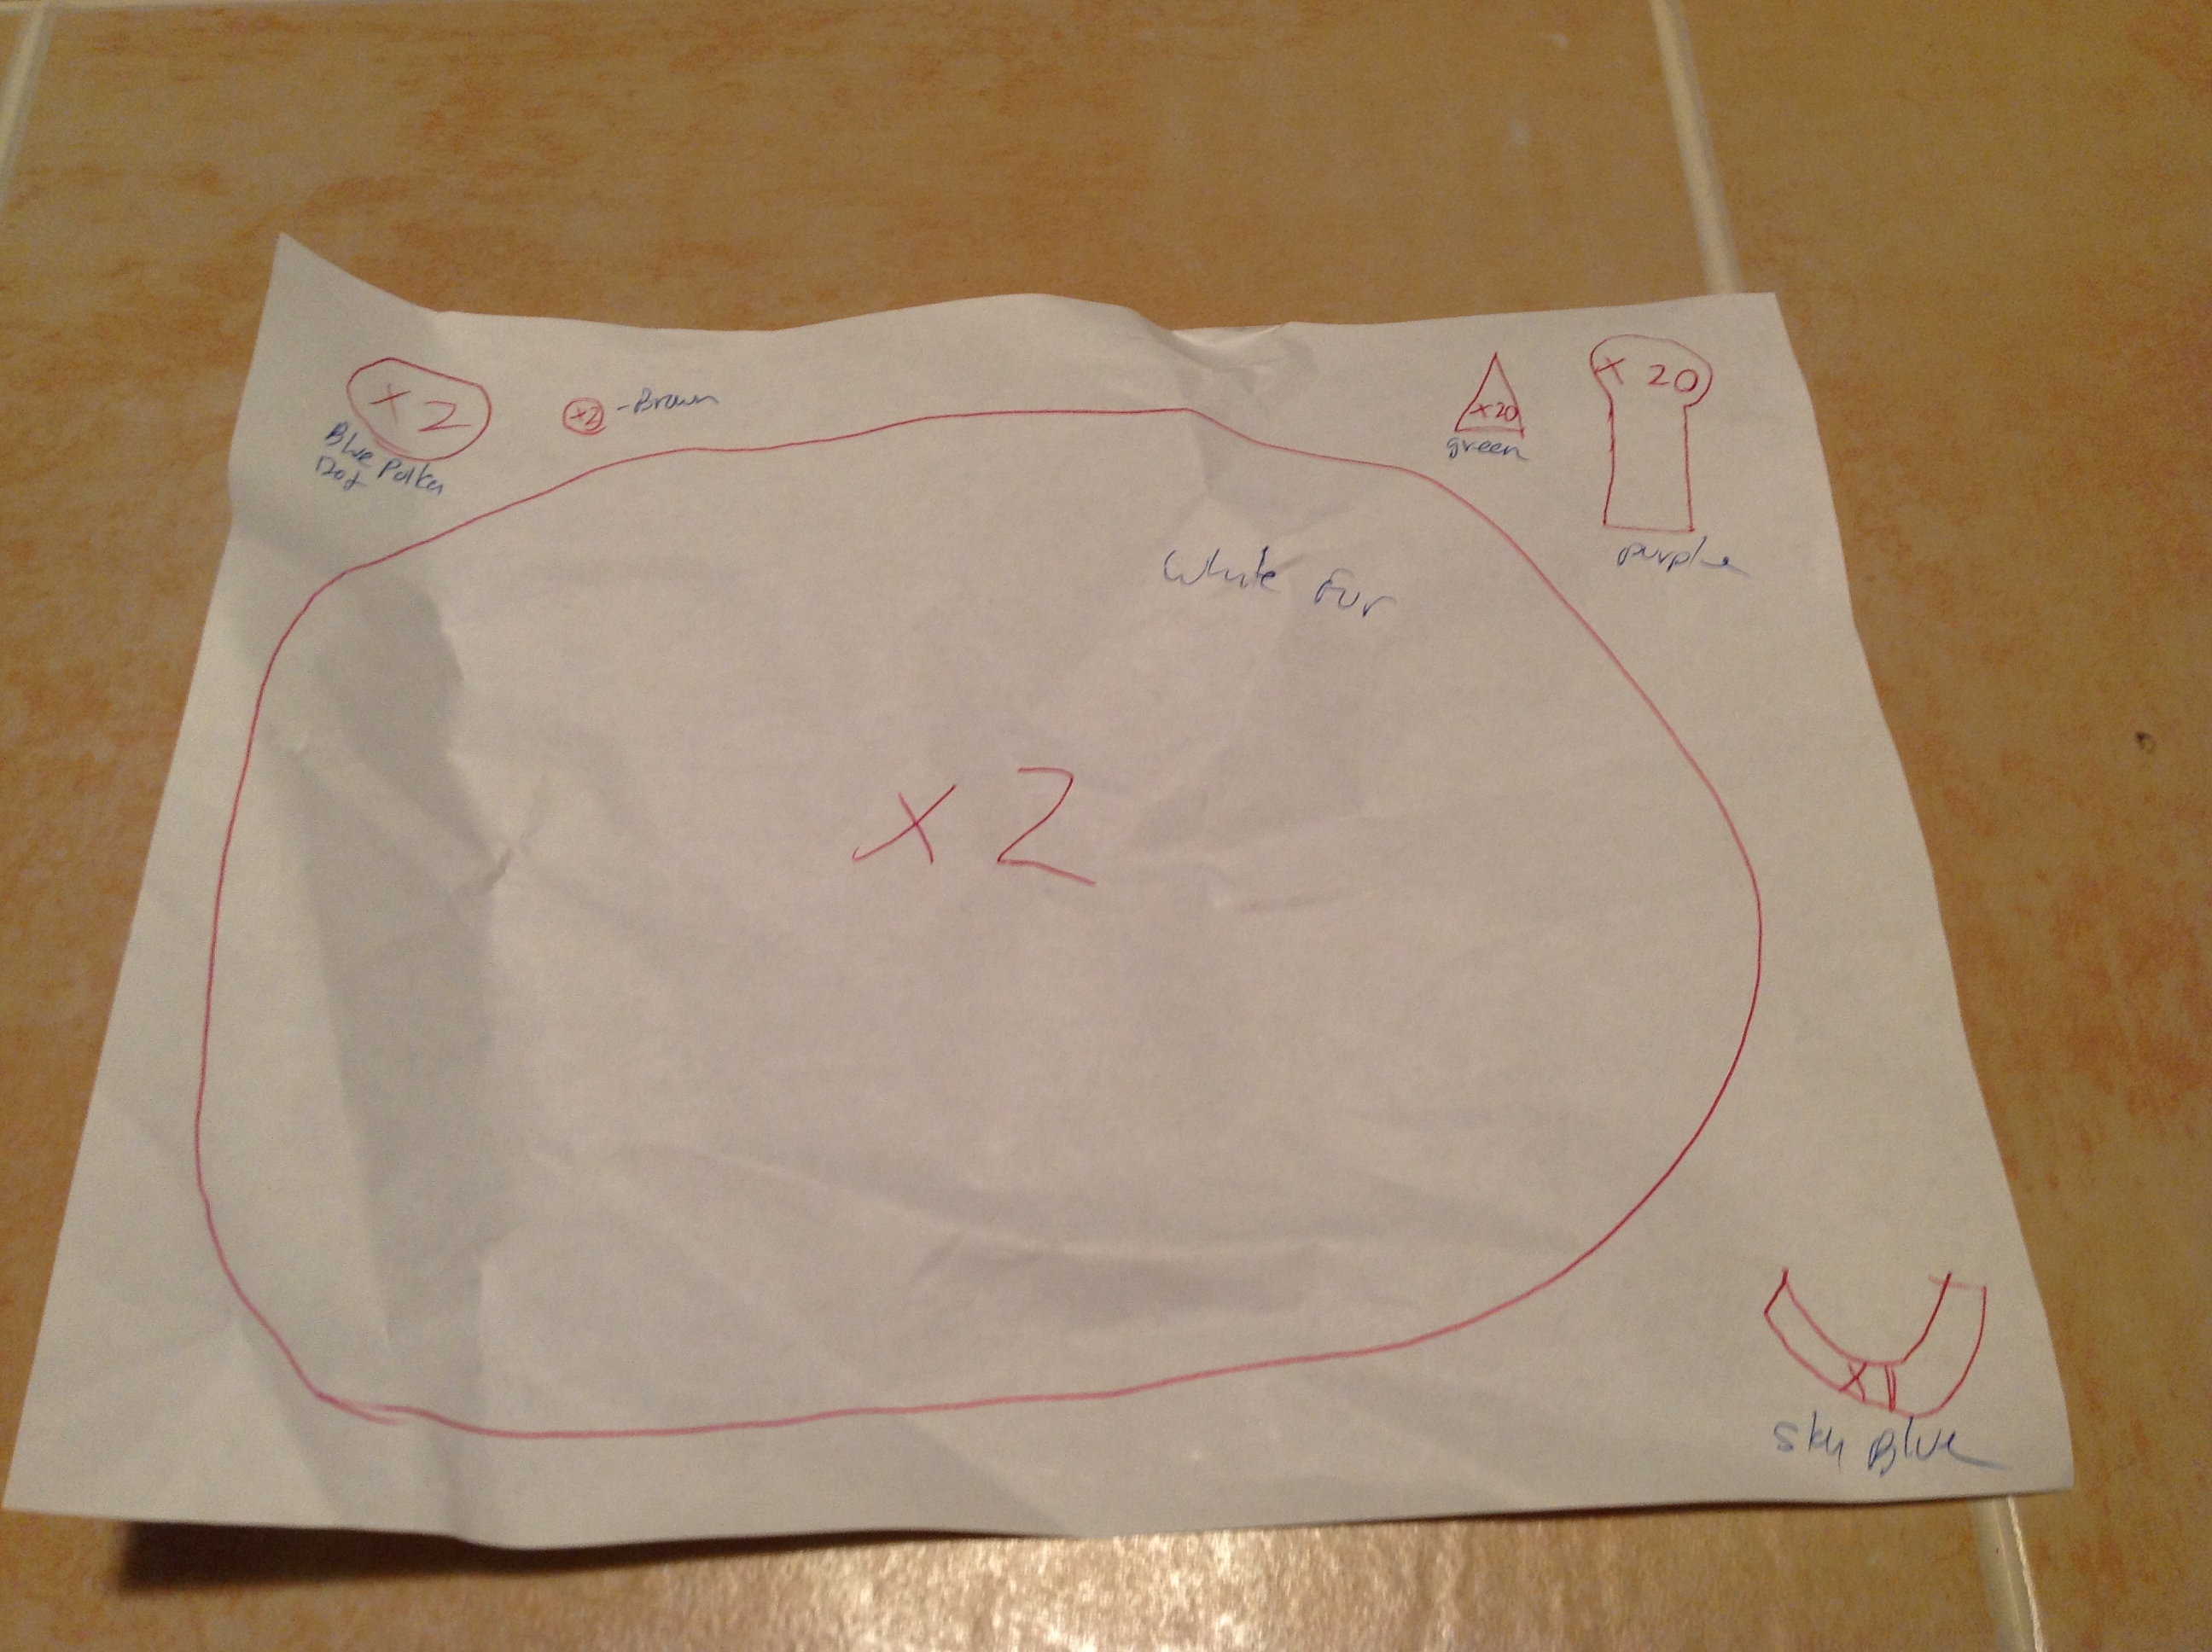
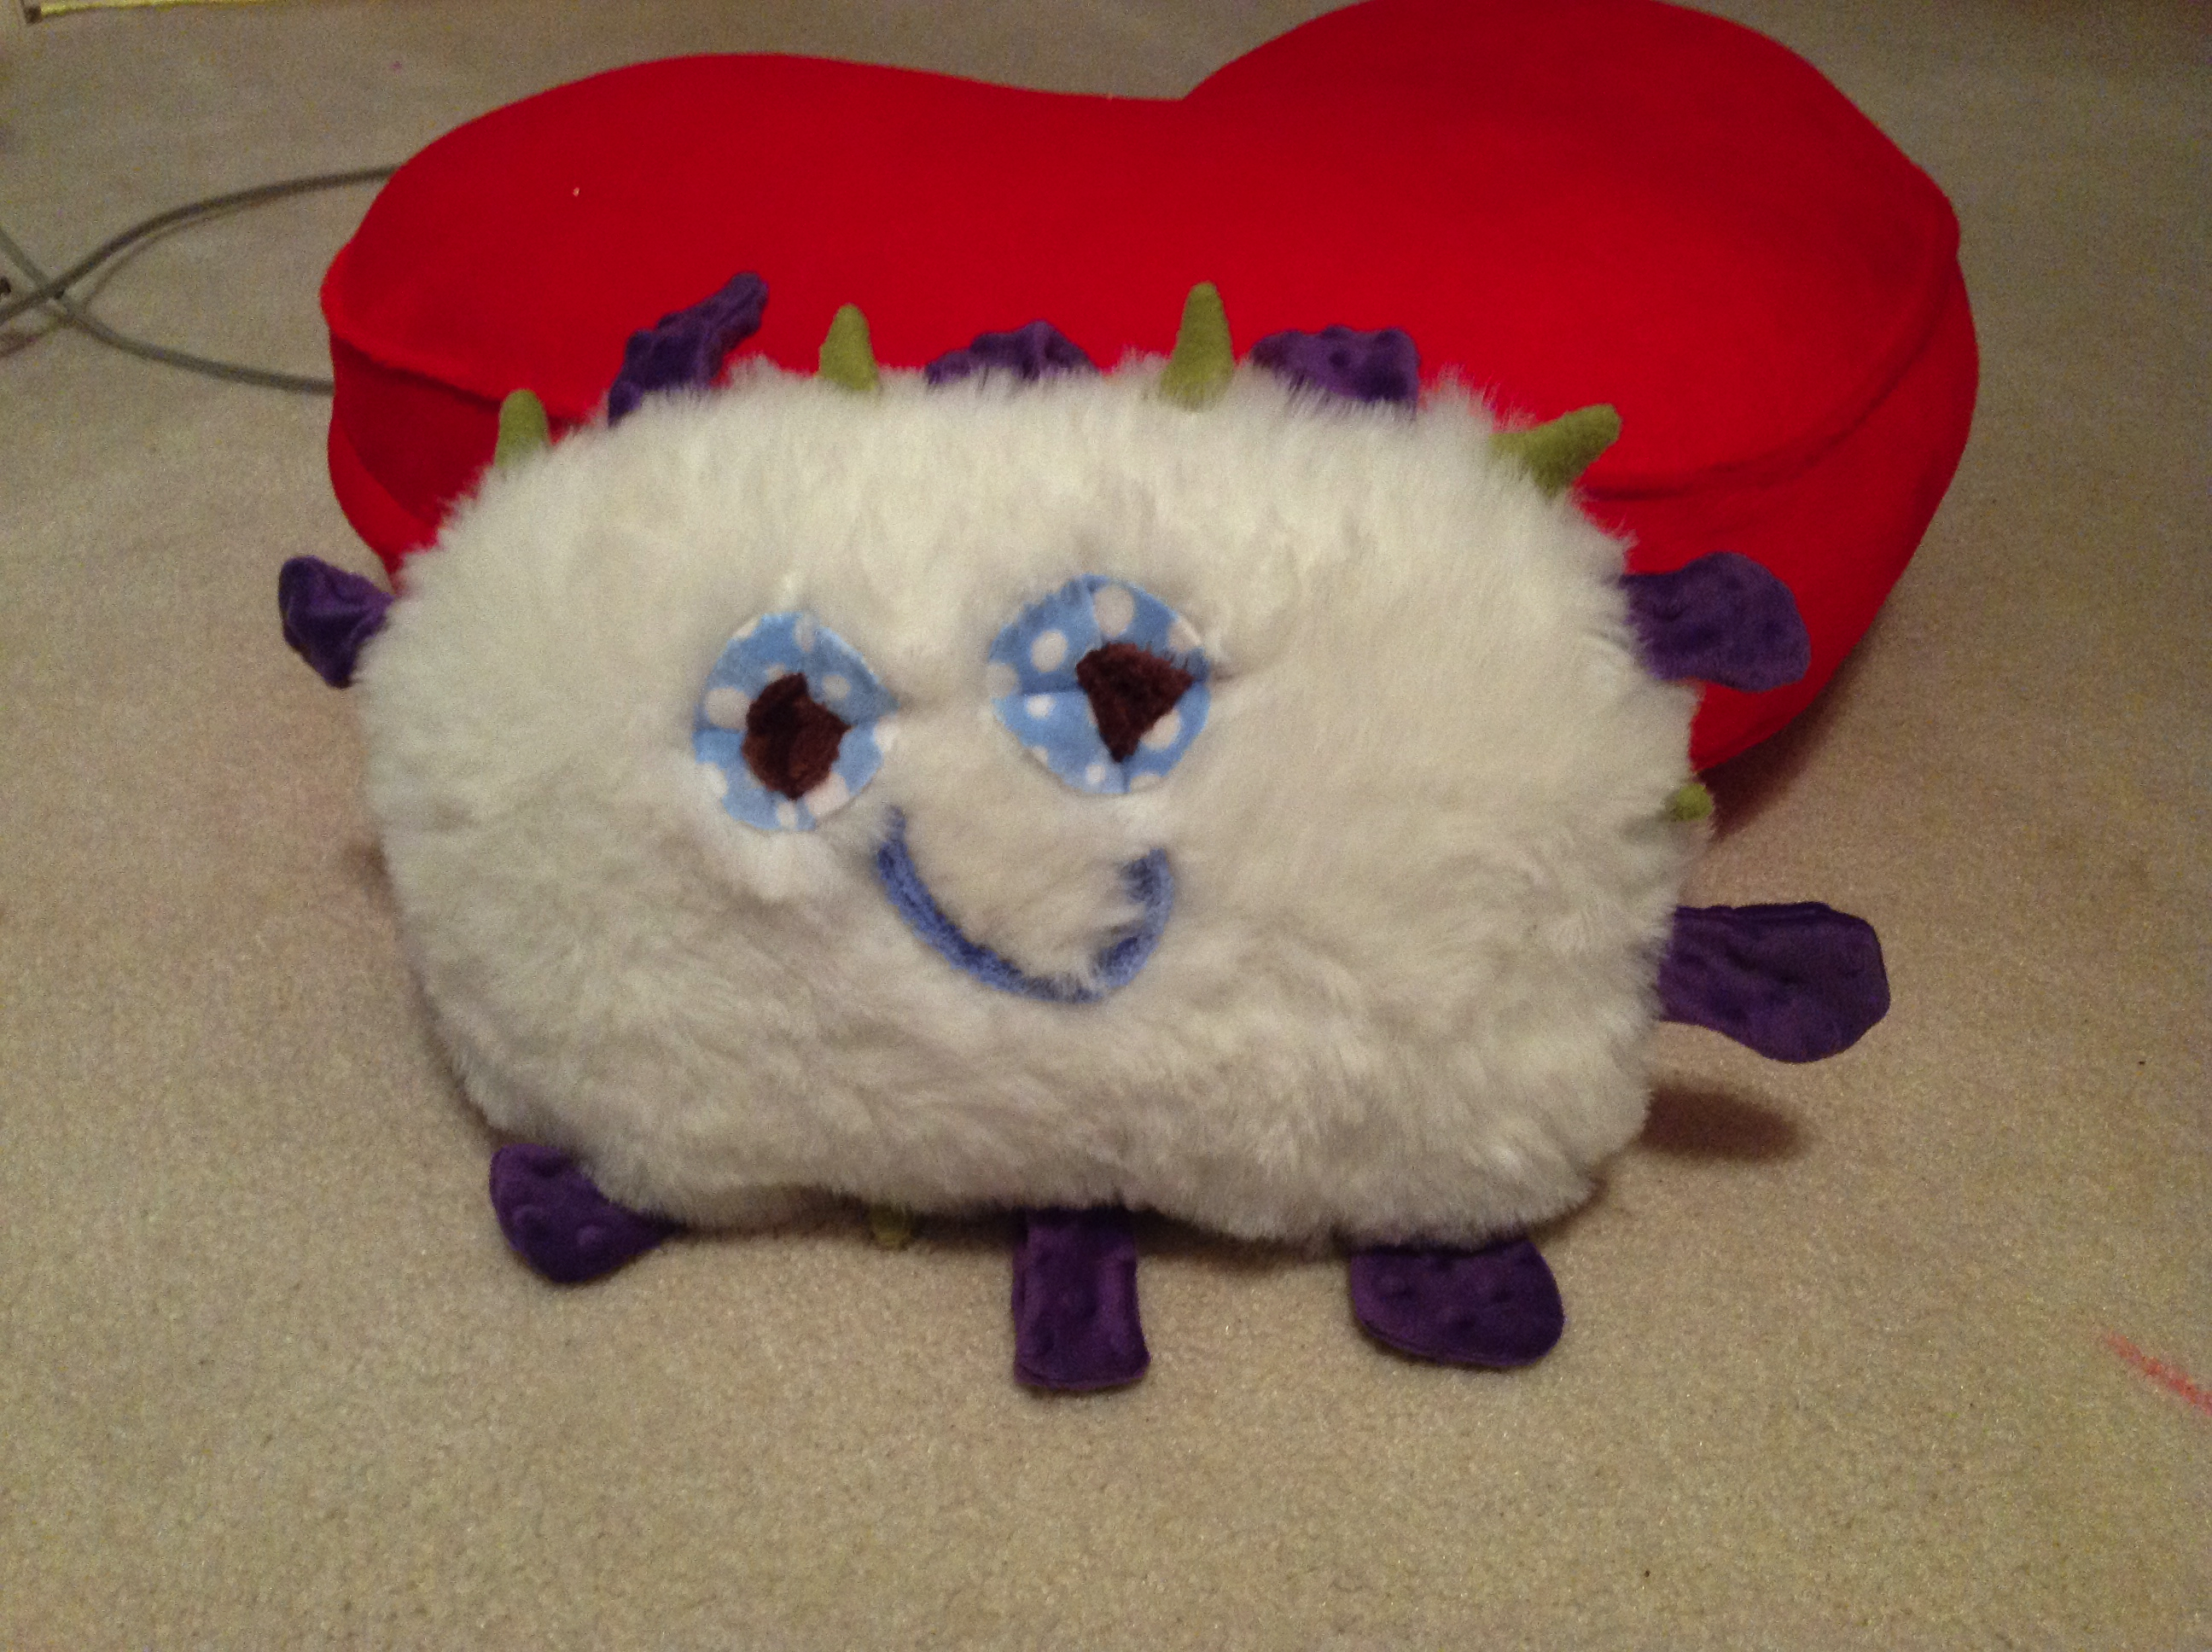
Last week I gave him a pile of fabric and told him to think about what he wanted to make with it. The next day he showed me the pattern he created for a a stuffed germ that he dubbed “Blanketitis” (since it was made with blanket material, get it?).
Pattern for Stuffed Germ
This was another fun and easy softie to make. I did the sewing, he did the stuffing and made all the creative decisions. He wants to make a whole line of stuffed germs, so we’ll have to see what he comes up with next!
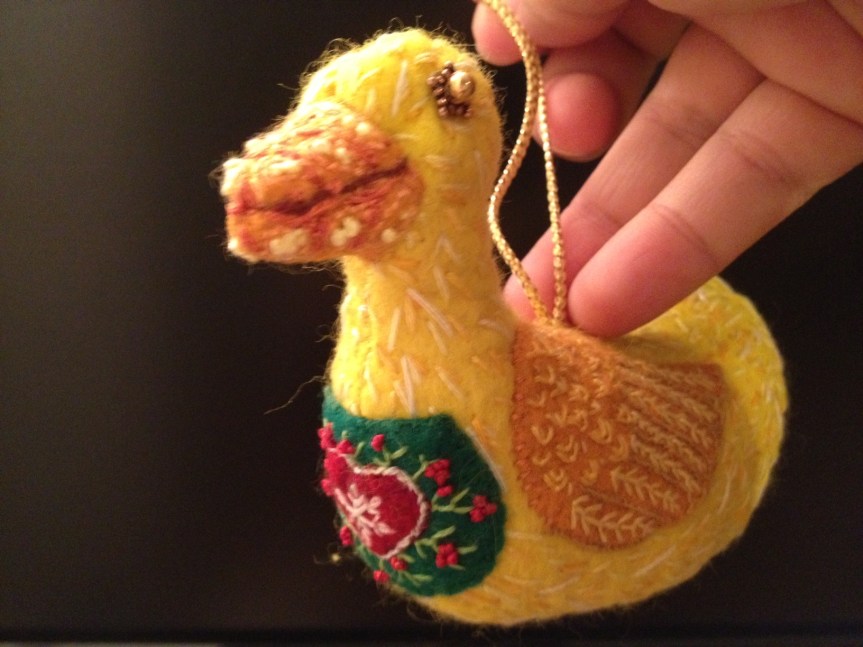
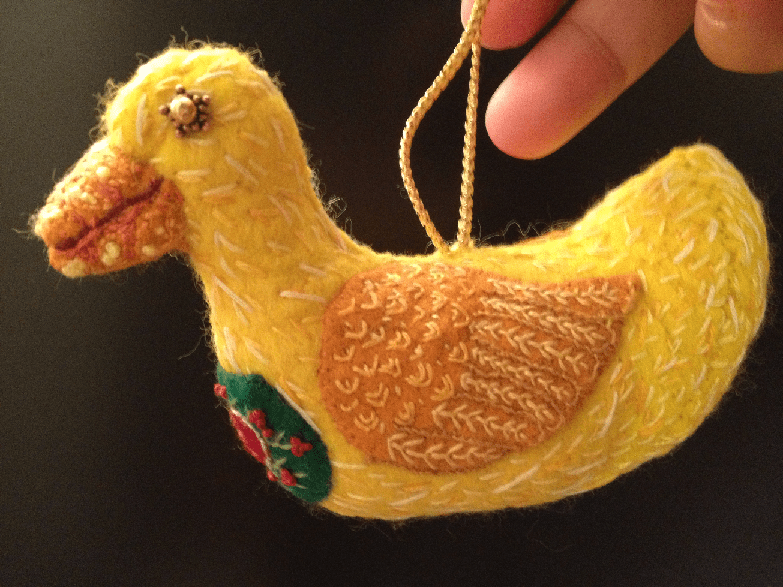
My friend Jen just sent me photos of this adorable duck ornament she made for her child’s teacher.
Wool Duck Ornament by Jen
I asked Jen to tell me about her process:
“Sure! I made it from this pattern http://noseynest.blogspot.com/2008/06/lucky-ducky-freebie.html but I turned it inside out to hide the seams. I like the look of hidden seams better, but it made his head so small! Wasn’t thinking about that when I changed it though. It’s just on regular wool felt, and before sewing it together I used embroidery thread to stitch on the decorative stitches.
Detail of Wing on Wool Duck Ornament
I used a straight stitch for the downy body, fly stitches for the feathers on the wings, buttonhole stiches to outline the wings and french knots, outline stich and backstitch for the beak. Oh and fly stitch, laisy daisy and outline and french knot for the heart patch.
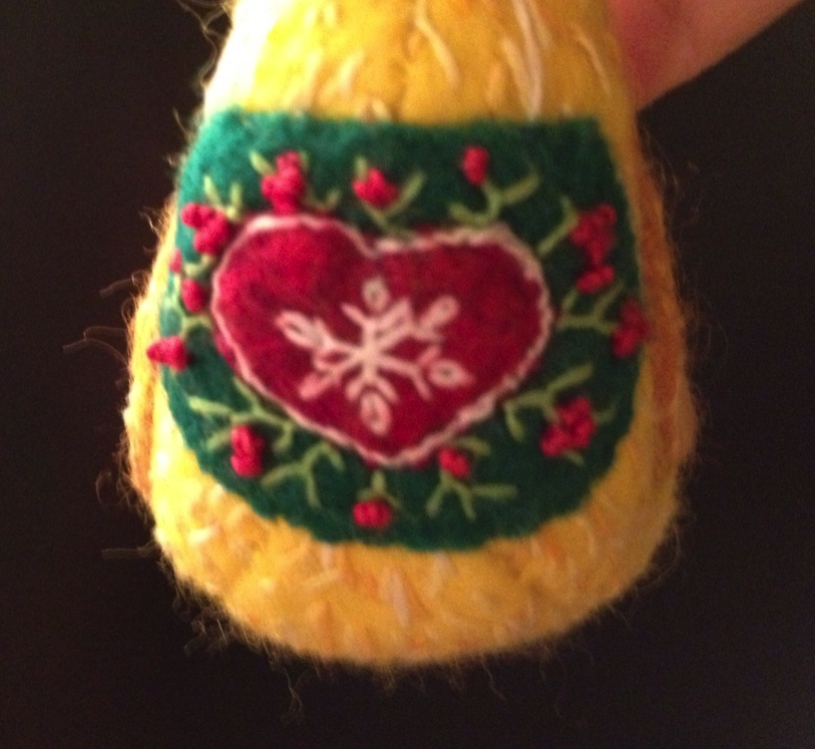
Detail on Wool Duck Ornament
Then I turned it inside out, stitched it, and stuffed it. It turned out a little wonky, to be honest, but I like the stitching effect and the cute little heart with holly berries. ”
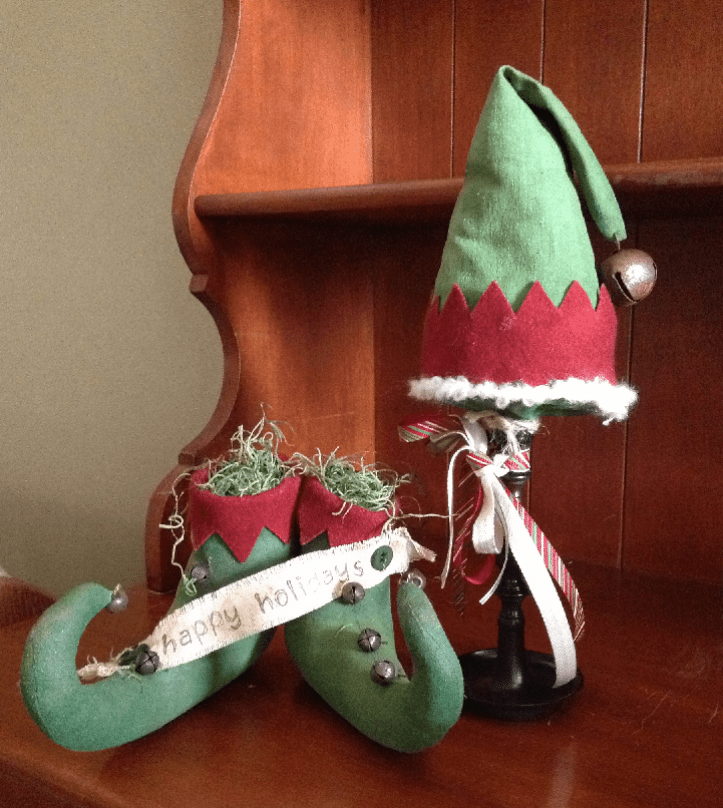
This is a cute little project of an Elf Hat and Shoes. The shoe pattern is from Country Whims and the Hat pattern is courtesy of a class with Liberty Rose. They turned out pretty cute and look great in the hallway, almost like the Elf stopped for a visit and took off his shoes and hat off at the front door.
Here’s an unusual project I did over the weekend with my son – a stuffed Horned Nerite Snail. This is a real snail that tends to live in brackish water.
Inspiration for Stuffed Horned Nerite Snail
My son learned about them from a virtual aquarium game he has, and wanted to make one. Since we had to work with scraps from my stash, our color choices were limited which explained the electric orange color for the shell.
Stuffed Horned Nerite Snail
It took about an hour to make it. My son did the original design and selected the fabrics. He also drew the face. As a special bonus, he drew the templates and wrote his own directions for the pattern on a very wrinkled piece of newspaper. The templates were too small to actually use, so I made my own with his careful oversight. Next on the agenda is to make the snail a pair of pajamas, again based on my son’s design.
My pumpkin obsessed son already has me working on things for Halloween! Threads that Bind has a very cute pattern called Pumpkin Farm that makes five stuffed jack-o-lanterns. My son saw the pattern and insisted that I buy it. Now he is expecting me to make him one new pumpkin each day for the next week.
Crack the Pumpkin
“Crack” is the first pumpkin to be finished (although it will probably take a few more weeks to finish all five) and he turned out pretty cute. This is made with a very easy reverse applique process and only took about an hour to make. Since I know these pumpkins will get a lot of attention from my son (ie, he will eat, sleep, and play with them), I went ahead and used the cheaper wool felt blend for it. I don’t really care for this type of felt, it doesn’t look as nice and it pills quite easily. However, for a kid’s project, it’s just the ticket.
Last week, my husband discovered a nest of baby rabbits in our back yard! They grow pretty quickly and recently were big enough to leave the nest. It was hard to get a good picture of them since we didn’t want to disturb them. The mama rabbit would come by in the evenings to check on and feed her two little bunnies. They are so cute and we were sad to see them go, but maybe they will come back to say “hello” on Easter.
Baby Rabbits!
Speaking of Easter, you probably have everything you need for your baskets, but if you are looking for a fun and quick project, click HERE for my tutorial on how to make a Sock Bunny! I made these last year was very pleased with the results. If you have time, you can also make a colorful vest, dress, or bonnet for your rabbit.