These cute sewing machine ornaments at the NC Museum of History — the perfect decoration for any seamstress! If you’re not in NC, you can order one of these online at Target.
The museum currently has a large exhibit called Quilt Speak that is exhibiting there until early March 2020. I will be writing up a longer blog post this weekend about my experience at the exhibit. There were truly some amazing quilts on display!
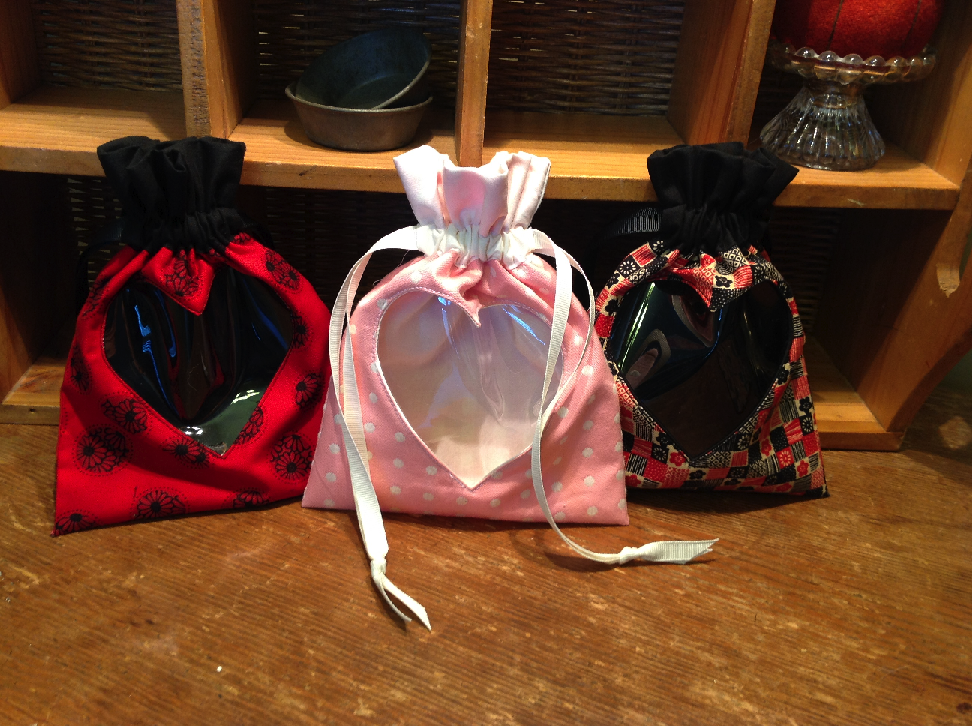
I found the tutorial for these drawstring pouches at Twinkle and Twine. They are so cute and very easy to make. I made six in one afternoon, I could have made more, but ran out of vinyl for the windows. The tutorial has great directions, even for beginners.
I plan to make these with other cut-out shapes for different occasions – a baby rattle, christmas tree, cupcake, and so on. I’m even going to make one with a thimble, of course!
Happy New Year! Time for Keep It Thimble’s 2012 Year in Review. WordPress.com prepared a 2012 annual report for this blog.
Here’s an excerpt:
4,329 films were submitted to the 2012 Cannes Film Festival. This blog had 54,000 views in 2012. If each view were a film, this blog would power 12 Film Festivals
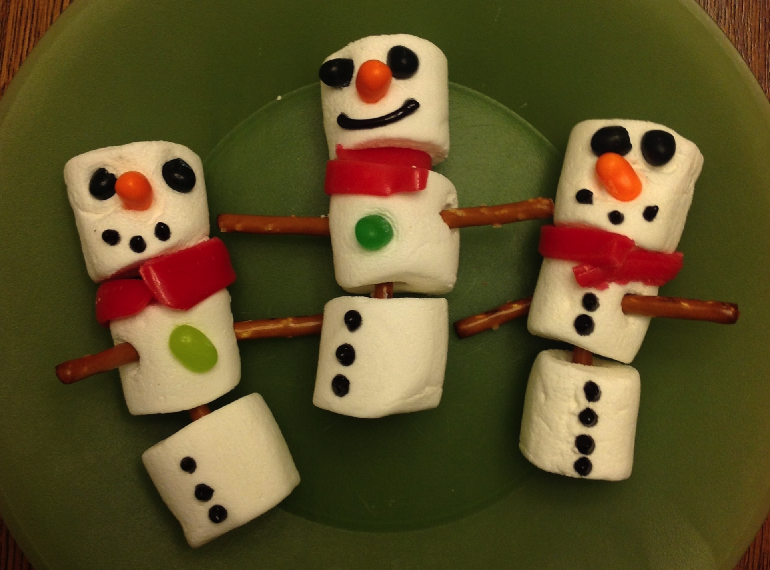
My husband and I went to a concert last night so a friend came over to babysit. He gets the prize for best babysitter, because he came prepared to do a fun food project! He had a bag of marshmallows, a tube of black icing, Jelly Bellys, Airheads, and pretzel sticks Add in one excited 6 year old and you get these adorable snowmen!
Marshmallow Snowmen
The pretzels are used to hold the marshmallows together and also for the arms. A Jelly Belly is used for the nose, and you can cut them in half to make eyes or buttons. A strip of airhead makes a delicious scarf. The final touch is putting on buttons with just a drop of black icing. I can’t wait to make these myself. Thanks for the idea Jim.
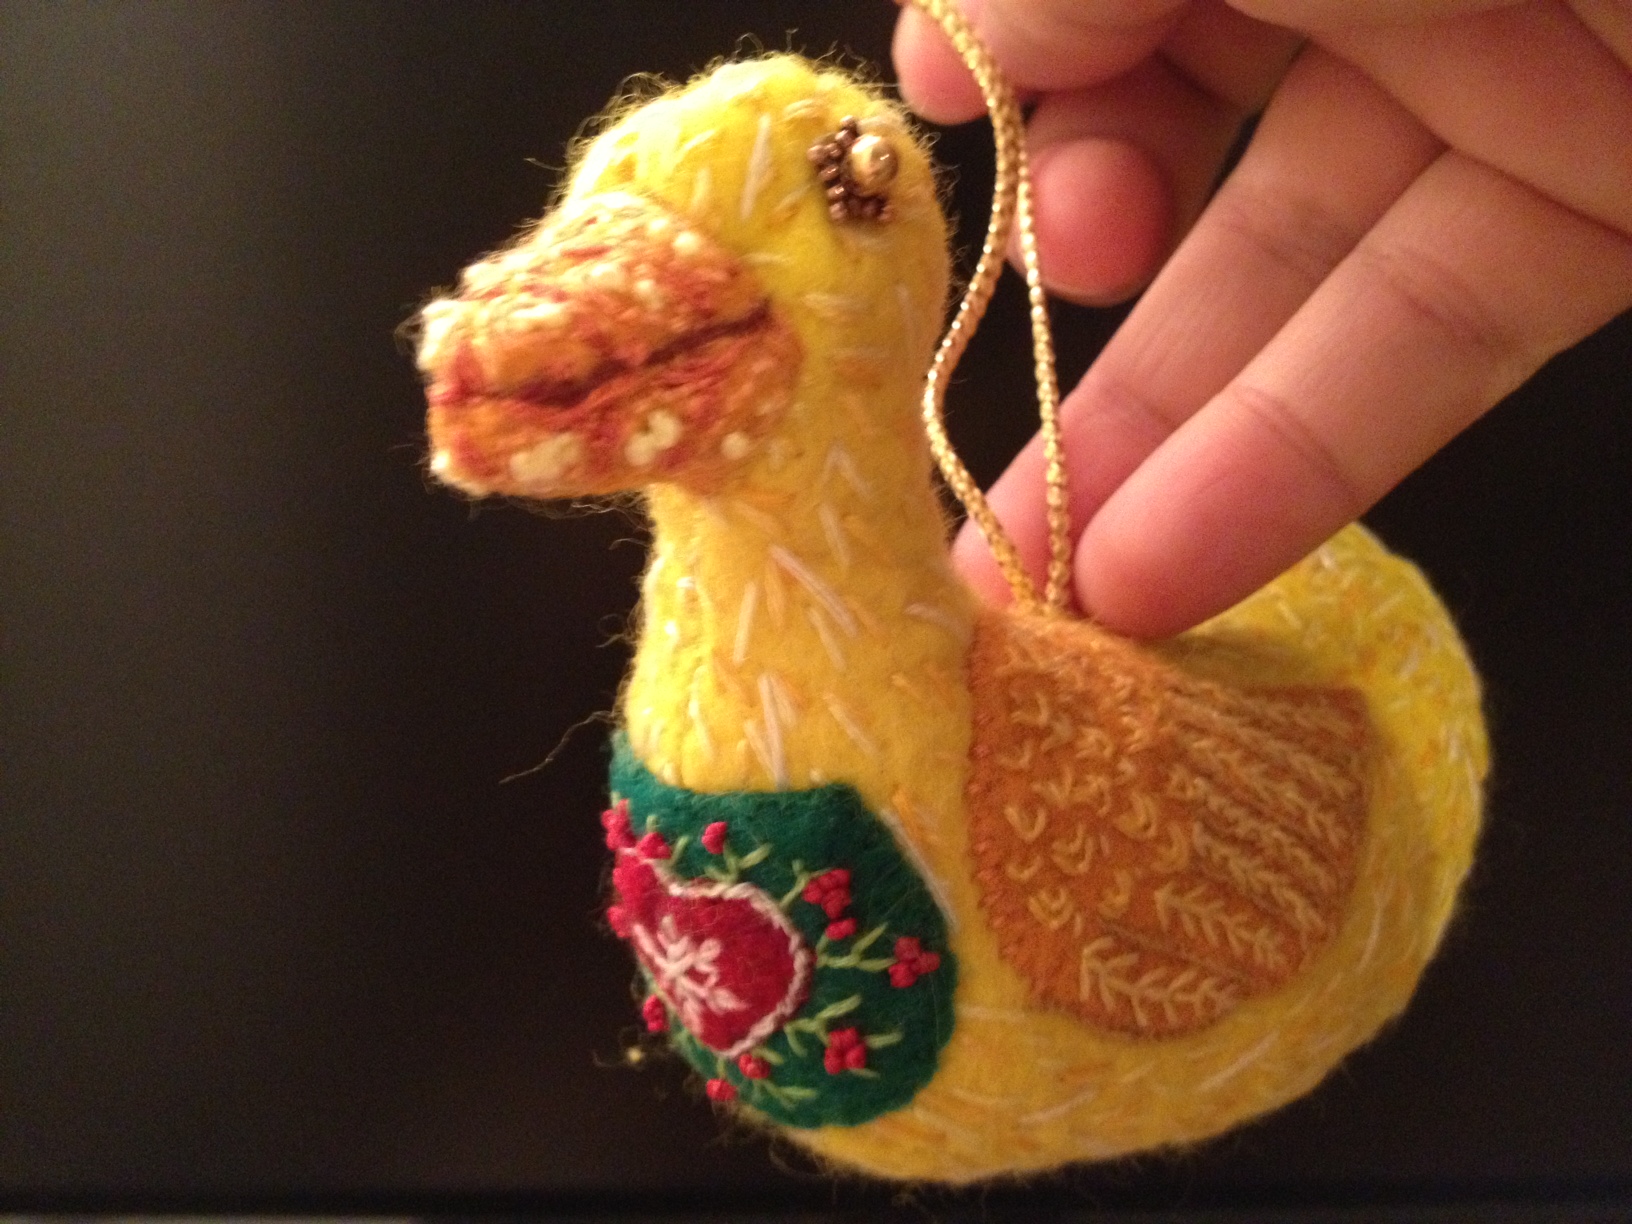
My friend Jen just sent me photos of this adorable duck ornament she made for her child’s teacher.
Wool Duck Ornament by Jen
I asked Jen to tell me about her process:
“Sure! I made it from this pattern http://noseynest.blogspot.com/2008/06/lucky-ducky-freebie.html but I turned it inside out to hide the seams. I like the look of hidden seams better, but it made his head so small! Wasn’t thinking about that when I changed it though. It’s just on regular wool felt, and before sewing it together I used embroidery thread to stitch on the decorative stitches.
Detail of Wing on Wool Duck Ornament
I used a straight stitch for the downy body, fly stitches for the feathers on the wings, buttonhole stiches to outline the wings and french knots, outline stich and backstitch for the beak. Oh and fly stitch, laisy daisy and outline and french knot for the heart patch.
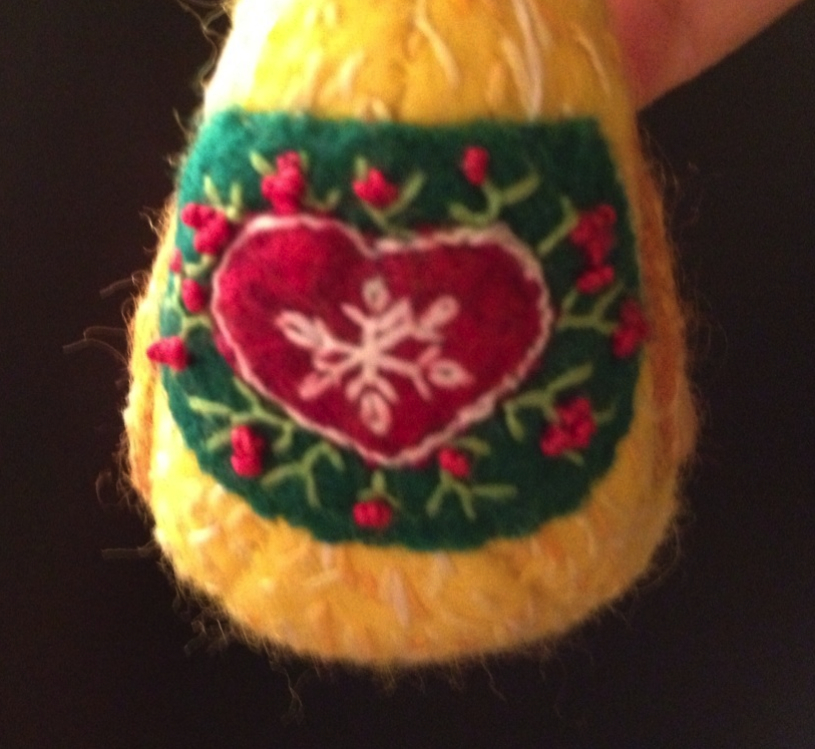
Detail on Wool Duck Ornament
Then I turned it inside out, stitched it, and stuffed it. It turned out a little wonky, to be honest, but I like the stitching effect and the cute little heart with holly berries. ”
I had a class with Liberty Rose yesterday and we made this Santa Claus pillow. The face is embroidered with one strand of floss and a silver floss was used to get the twinkles in his eye. When the face and other parts were stitched down, a bit of stuffing was added to make him “pop” off the background. I added the “ho, ho, ho” on the side since he wasn’t quite centered by himself.
What Christmas projects are you trying to finish up before the holidays?
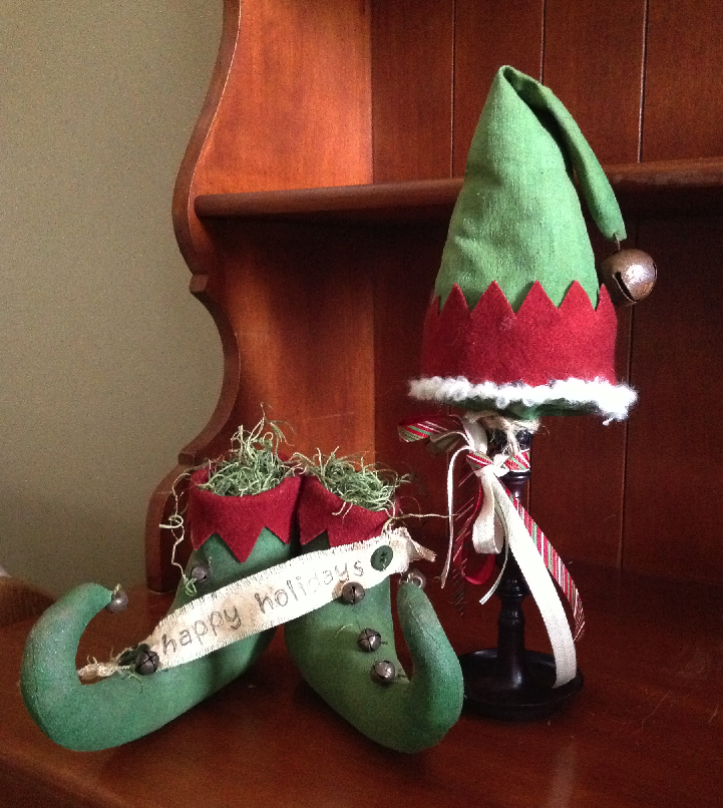
This is a cute little project of an Elf Hat and Shoes. The shoe pattern is from Country Whims and the Hat pattern is courtesy of a class with Liberty Rose. They turned out pretty cute and look great in the hallway, almost like the Elf stopped for a visit and took off his shoes and hat off at the front door.
Now that it’s finally December, I can start posting Christmas things! I had a crazy idea about posting something everyday in December as a sort of holiday countdown, but the reality of doing that is a different story.
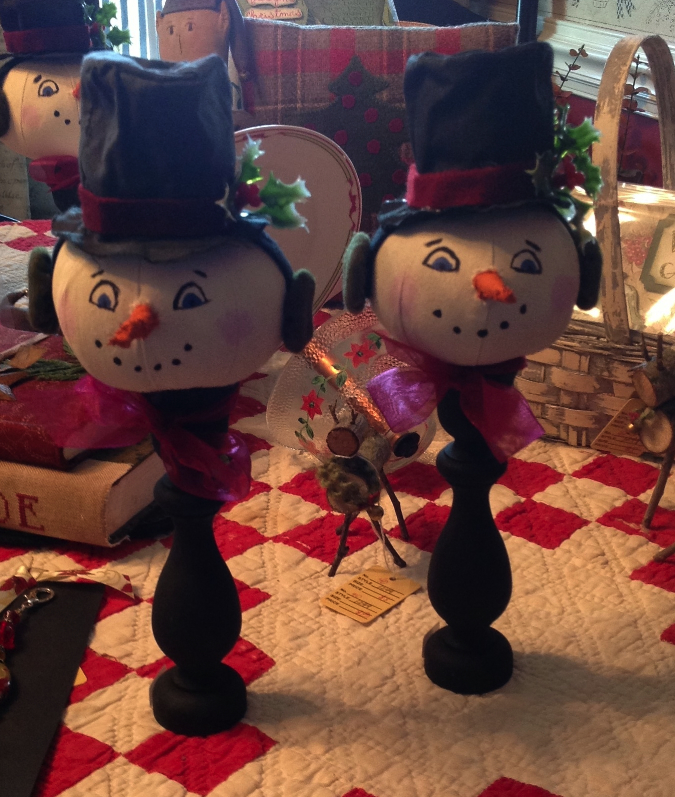
Frosty the Snowman Makedos
Last year I planned to make a bunch of these cute little Frosty make-dos; they were all cut out, the heads were sewn, the candlesticks were prepped, but I just didn’t manage to finish them. This year I completed 12 of them and they are being sold at a local shop. I think they turned out pretty cute!
My favorite part is the carrot nose that sticks out. Some of the carrots turned out a bit crooked, which give the face a lot of character. I made one snow woman because a customer requested both a man and woman. She has on ear muffs and a different face. Unfortunately, I didn’t get a picture of her before she went to her new home!
One more day until the candy bonanza! My son already went trick or treating at two events this weekend, so we already have a good start. His plan for Wednesday is to stay out until he fills an entire grocery bag with candy.
Halloween Pillow with Ruffle
In between all the Halloween stuff, I made this Halloween pillow from some scraps leftover from another project (to be posted in a few weeks). I used the scraps to make the patchwork squares, and then made them into a simple nine-patch block by using an orange fat quarter.
Ruffler Foot
I was originally going to put pom-pom trim around the pillow, but I figured this was a good opportunity to teach myself how to a the ruffler foot. As you can see from the picture, ruffler foots are kind of scary (thus, perfect for Halloween) and intimidating. I didn’t even know how to attach it! Thanks to the internet, I was able to find a few videos that explained the process and I was on my way. Once the foot is attached, it really is quite easy to use. Soon I had 3 yards of ruffled material in no time flat.
I was going to stuff it with Fiberfill but then decided to splurge and get a pillow form instead. Using it makes a huge difference in the shape and finished look of the pillow. The back has an envelope opening so you can slip the pillow form in and out in case you need to wash it.
I still owe you a report on my trip to Alaska and the quilt shops, and you will get that before the end of the year. However, I have been busy working on some fall projects and should have lots to show and tell in the next month or so.
Fall Fabric Covered Box
Here’s a cute fabric covered box that I made from a class I took at Liberty Rose. Sharon thought of this idea and taught it as a class. This is one of my favorite projects because it only takes a 2 or so hours to complete from start to finish. When done, it looks like something store-bought!
Project Storage Idea – Sara Lee Bakery Case
I found this Sara Lee Bakery Display at the local antique store. It’s the perfect place to store all my works in progress. As you can see, I have quite a few projects going on right now. Most of these are 75% complete and will be done in the next few weeks. Stay tuned!