QuiltSpeak

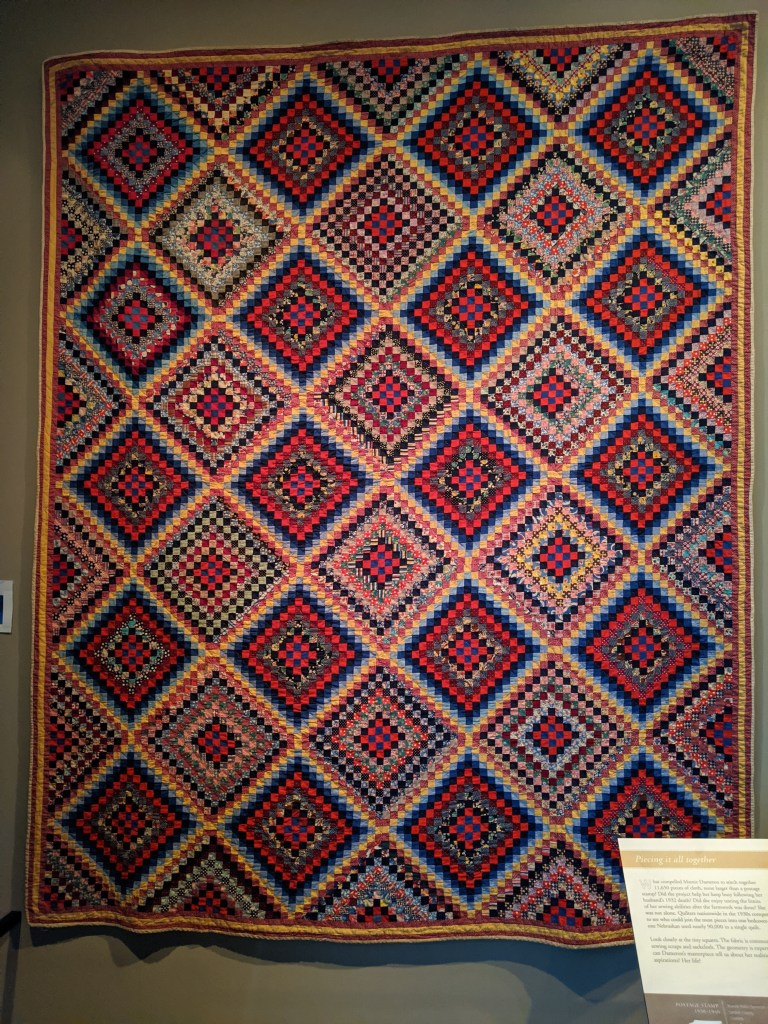
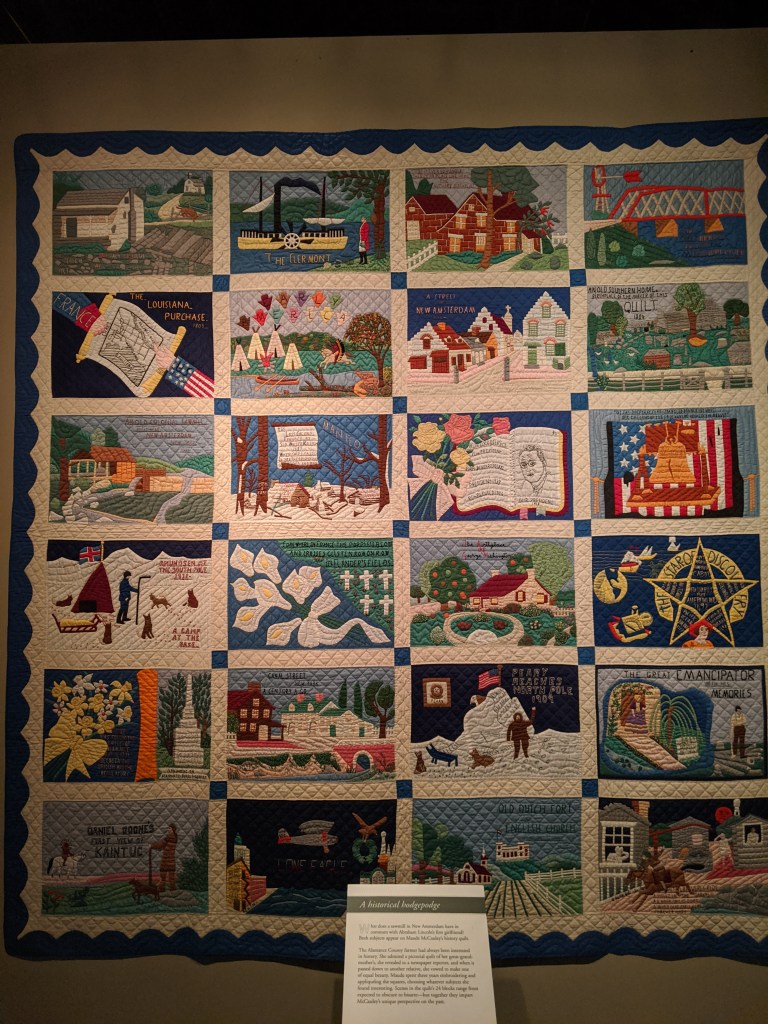
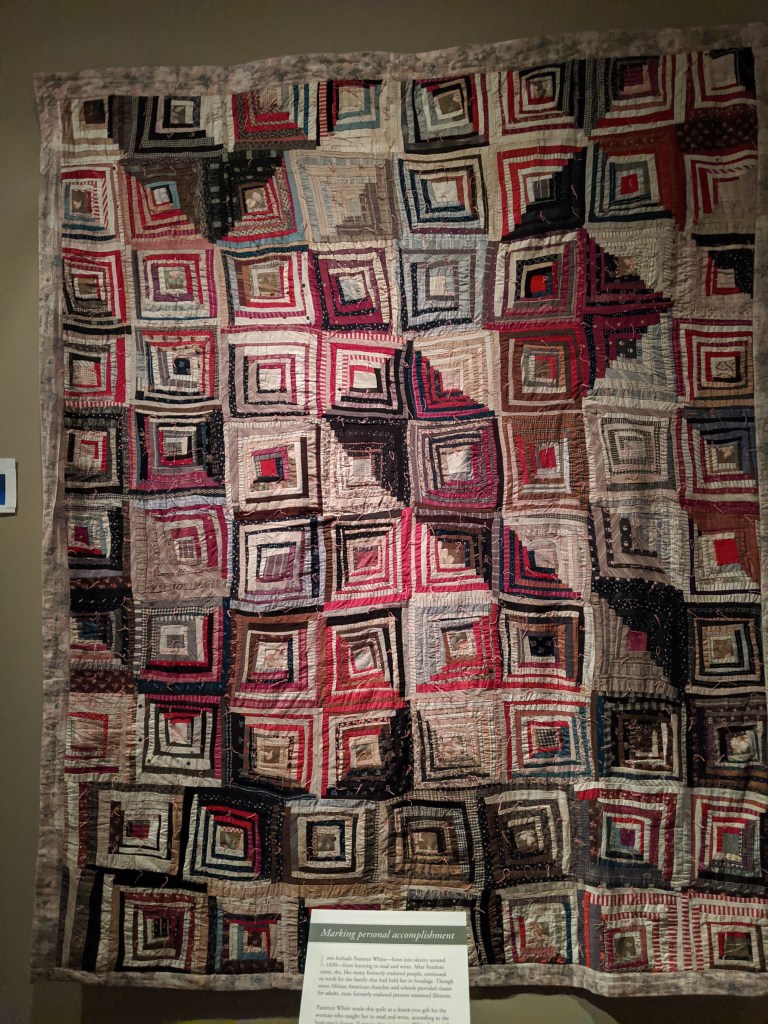
The North Carolina Museum of History has a wonderful exhibit called QuiltSpeak: Uncovering Women’s Voices through Quilts that will be there until early March 2020. There are some stunning quilts on display, so if you are in the Raleigh area, you will definitely want to check it out.

The exhibit features about 40 quilts, along with a story of the woman who created it. Here’s a few pictures to give you and idea of the type of craftsmanship on display.

Christmas Ornament

These cute sewing machine ornaments at the NC Museum of History — the perfect decoration for any seamstress! If you’re not in NC, you can order one of these online at Target.

The museum currently has a large exhibit called Quilt Speak that is exhibiting there until early March 2020. I will be writing up a longer blog post this weekend about my experience at the exhibit. There were truly some amazing quilts on display!

Learning a New Skill

I finally learned how to use my Silhouette Cameo 2. It was purchased about 3 years ago and sat unused on a shelf until about 6 months ago. I tried making one project and it was a disaster; so I shelved it, thinking I would eventually find someone who could give me lessons.

Enter Melody Thorton of South Wake Vinyl in NC. I met her at the beginning of this year and scheduled a beginner’s lesson with her. In under two hours she taught me the basics and I’ve been on a roll ever since.

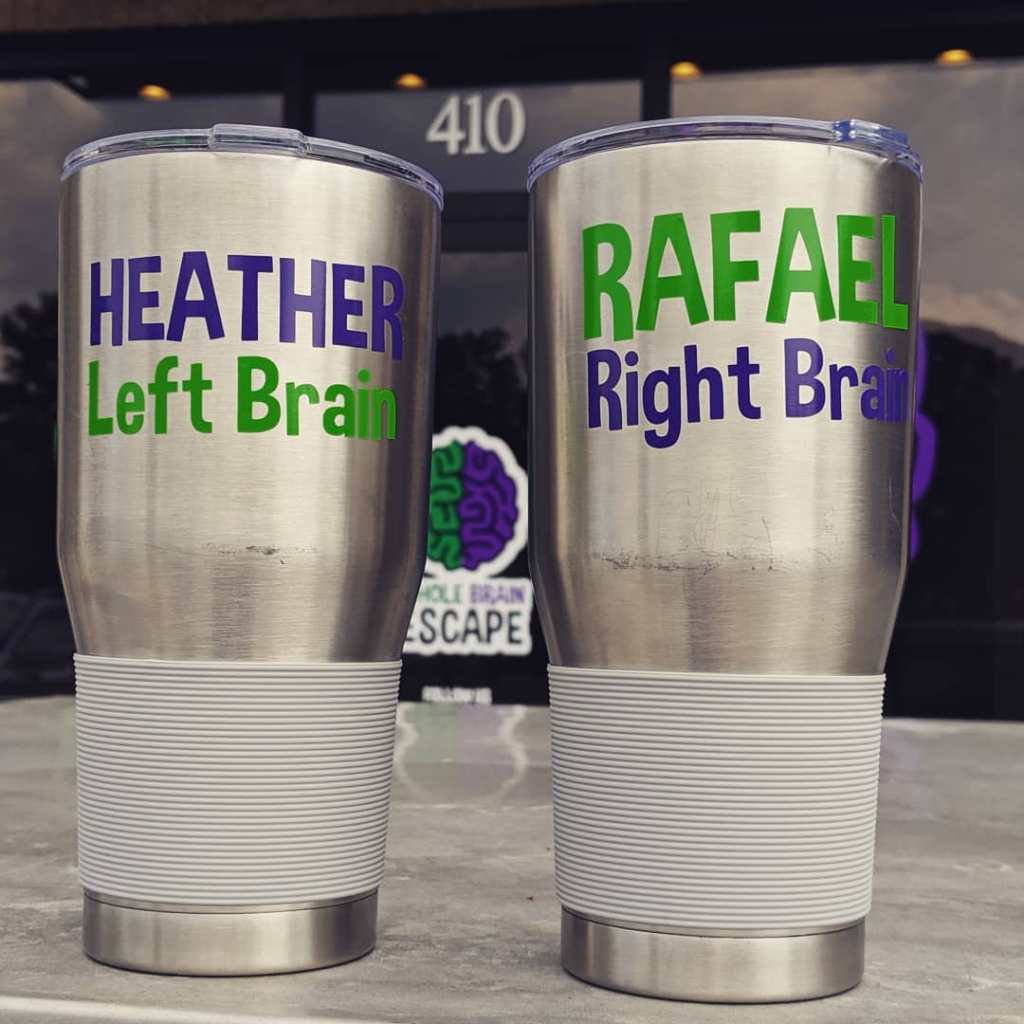
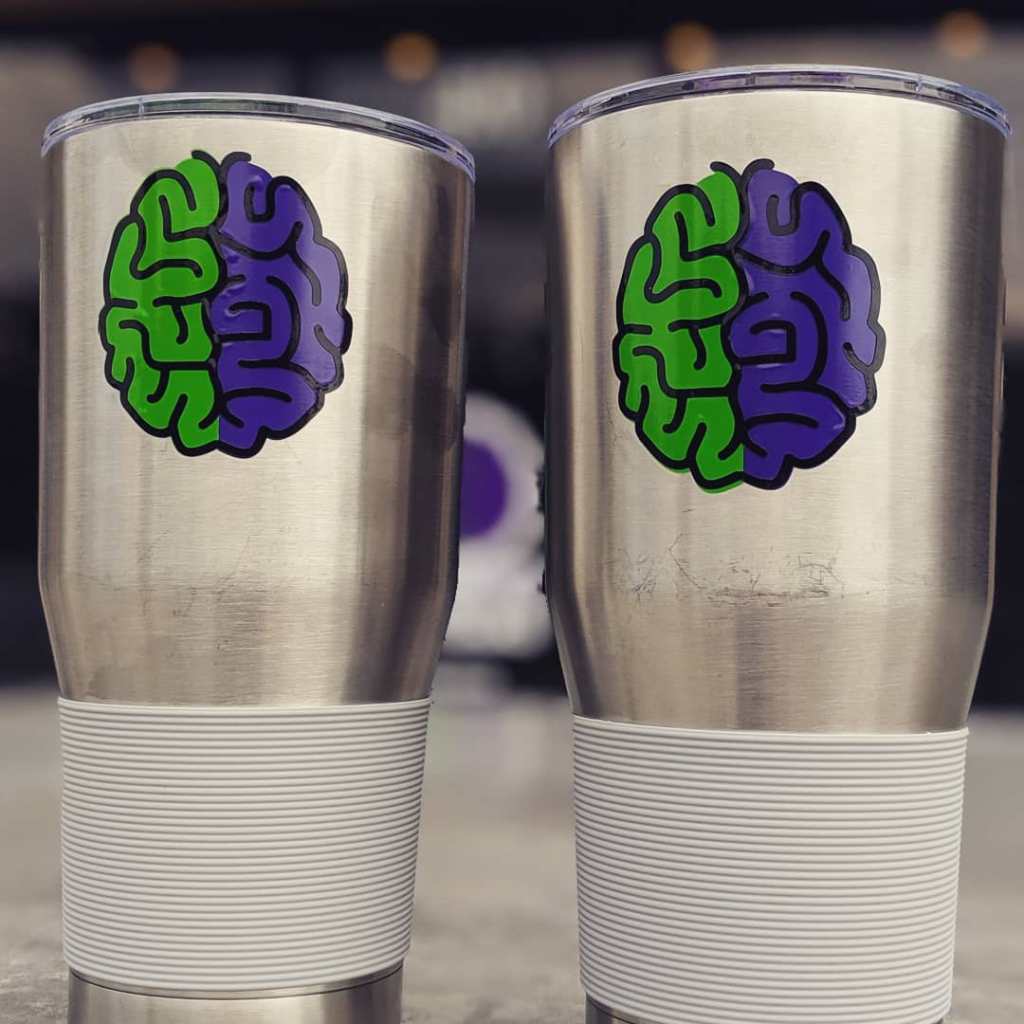
The first project was these tumblers – one for me and one for my husband. My husband and I started an escape room business in January 2019 because it was the perfect way for us to showcase our strengths and work together.  He is a highly creative game designer and idea person (right brain), and I am a very strong planner and executor (left brain). We often joke that between the two of us we make a whole brain, thus the name Whole Brain Escape was born.

These are a lot of fun and get a good laugh from people when they see them.

Keep it thimble!

Making Bags

Bags and purses are one of my favorite things to make. I have the perfect bag for almost anything. My favorites to make are roomy bags with lots of pockets and storage.

This first one is from a Quilts Illustrated a pattern. I can’t remember the fabric, but it is a lovely blue color with yellow accents. It’s just the right size for a handbag that carries a wallet, book, and a few other odds and ends.

Mini Bow Tucks Tote Pattern by Penny Sturges of Quilts Illustrated

This second one is a By Annie pattern. I love her patterns! I’ve made several of her patterns, but this is my favorite one so far. When I finished sewing the bag I used a tailor’s point press to help me press all the seams on the bag to give it a nice crisp look! The fabric is canvas weight from Melody Miller’s “Picnic” line. This is a very durable and versatile bag.

Ultimate Travel Bag by Annie Unrein of By Annie.

Thanks for stopping by. Check back tomorrow for another post!

Keep it thimble!

Still here!

Hello friends! I’m participating in a 31 day blog challenge that starts today. I’m posting every day in December in the hopes of getting back into the habit of making patterns, tutorials, and sharing fun things related to sewing.

Over the past four years I’ve made some quilts, bags, stuffed toys, wool applique hangings, and learned to Zentangle. I also mastered my Cameo Silhouette and have been making personalized cups and other items.

Tomorrow, I’ll post some pictures of some of the things I’ve made recently.

Happy 2016!

Happy New year!

Wow, can’t believe it has been over a year since I posted something!    I’ve been busy sewing and doing projects, but just haven’t had the time to take pictures and put together the posts.  I plan to start posting a bit in 2016.

no more fabric

I signed up for a UFO challenge at my local quilt shop and I hope to complete ten UFOs by March 31!  I think I have a good chance of getting 8 completely done, and two will just have some progress made.  Will post a list of the projects in the next few days so you can can see what I’ve been up to this past year.

Keep it thimble!


Scrappy Hawaiian Quilt

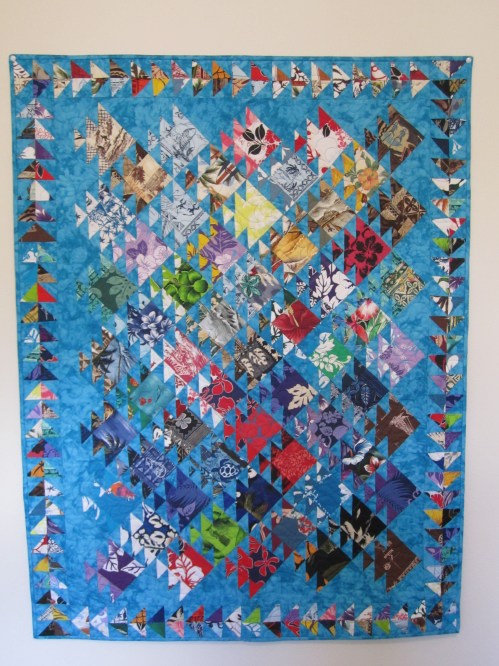
Five years ago, my brother gave me a box of 3.5″ and 6″ squares cut from vintage Hawaiian shirt fabric and asked me to make a quilt.  I found the perfect pattern in the ScrapTherapy book by Joan Ford.  I’ve worked on it off and on for the past few years, and finally finished it!

Fall 2014 August 029

This quilt has over 1,000 separate pieces and lots of triangles.  I tried to set up somewhat of an assembly line to sew and trim the half-square triangles.  Every few months, I would pull out the project and do a few more half-square triangles.

The best part was figuring out which squares to pair with the half-square triangles in order to make the fish.  I think the fish turned out great and I really like how the blue fabric makes them pop!

What long-term project have you finally finished?  Comment below!

Keep it thimble!

Cute Felt Cat

I love the books by Aranzi Aranzo.  Fittingly, their books are called “The Cute Book,” “The Cuter Book,” “Cute Stuff” and so on.  This is one of their patterns from “Cute Dolls.”

IMAG2088

Pretty easy to make and only about 3″ high.  I made this from craft felt and it took about 30 minutes from start to finish.  The pieces are a bit small, so I enlarged the pattern by 15% to make it easier.

These would make really cute ornaments or package decoration!  You could also glue a pin on the back so it could be a cute fashion accessory!

Keep it thimble!

Tutorial: Crafting a Mushroom Meadow

My son is crazy about mushrooms.  Last year for Christmas he wanted a book titled Mushrooms of West Virginia and the Central Appalachians (of course he got it!).  He came up with this fun little mushroom craft that requires very few supplies.

IMG_1090

Supplies Needed:

  • 1″ Wooden spools or knobs (one for each mushroom)
  • Fabric scraps to make 2 1/2″ circles
  • Thread
  • Glue
  • Markers

He rooted through my scrap basket and selected about 11 different fabrics that looked like mushroom tops.  Batiks work well for this, as do tone on tone prints.  He also found that the reverse side of the fabric would sometimes work.

Next, cut out a 2 1/2″ circle from each fabric scrap.  Using a needle and thread, sew a running stitch about 1/3″ in from the edge.  Gather the circle and add a small bit of stuffing. When making the first one (pictured above) we placed the wooden spool instead the gathered circle and pulled the thread tight, and tied it off.  This was pretty awkward and too some time to get the thread tight enough.  For the other ones, we gathered up the circle, stuffed it, tied it off, and then glued the “puff” on top of the wooden spool.  That worked much better and was even cuter!

IMG_1089

Once the mushroom is dry, use a green marker to draw a bit of grass at the bottom.  If you like, add a smiley face!

IMG_1093

I cut out a piece of green felt for the meadow and gave him a plastic Crystal Light container for storage.  Viola!  A portable mushroom meadow!

Keep it thimble!